It’s super important that you learn to properly tie the correct climbing knots. You wouldn’t wanna slack off in preparing the only thing keeping you and your equipment intact dozens of feet above the ground.
Frankly speaking, you can use several good climbing knots, and they aren’t tricky to tie/prepare either. But every knot comes with its own set of pros and cons and use cases. This leaves you to choose a knot with the lowest margin of error for your specific usage.
Let’s look at some of the strongest climbing knots being used by climbers globally and when it makes sense for you to use them. Firstly, you should know that a rope is divided into six sections when you tie a knot. All six of these sections serve specific purposes in various knots.
- Knot: when you tie a rope with itself or a piece of webbing.
- Bend: it’s a type of knot that connects two separate ropes together.
- Standing end: it’s the part of the rope not in use when you’re tying the knot.
- Working end: the part (or side) of the rope being used when tying a knot.
- Bight: the section of the rope between two ends.
- Hitch: it’s a part of the rope used to connect it to another object like a carabiner.
1. Figure 8 Follow-Through
Figure 8 is the most commonly used style of tying a knot. I say style because it has given birth to the three popular knots and bends – Figure 8 follow-through, Figure 8 on a bight, and Figure 8 bend.
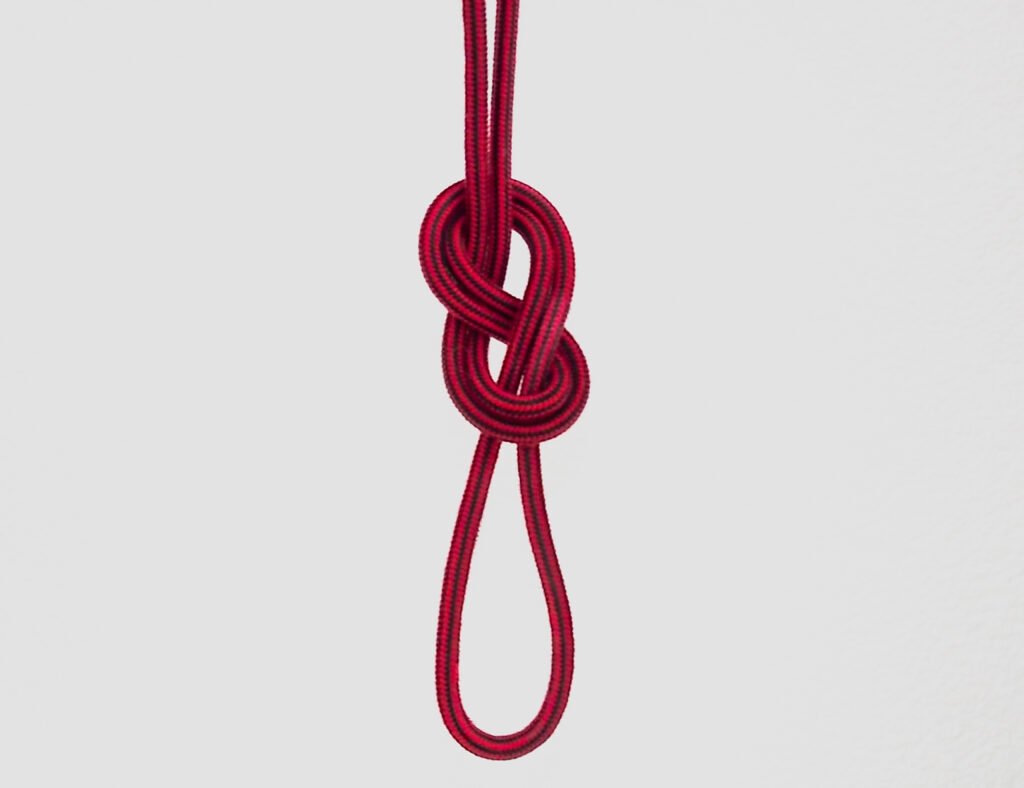
How to tie a figure 8 follow-through?
- Pick one end of the rope and measure out length equivalent to the distance between your fist (with extended arm) to the opposite shoulder.
- Twist the bight one whole rotation (from your shoulder side of the rope) to switch the working end with the standing end. Now, twist it again, so everything is back to its original position with two twists in between.
- Next, make figure 8 by passing the entire working end through the loop you just formed. Pick up your harness and pass the same end of the rope through both tie-ins on the harness to make the follow-through.
- Tighten the knot by pulling it close to you. Feed the same end back into the loop carefully to make it more secure, so the working end runs parallel to the standing end.
- Tighten the knot again by pulling each strand carefully while keeping standing and working end perfectly parallel. There should be about five sets of parallel lines.
Note: Make sure you have at least 6-8 inches of tail left on the working end.
What you need to know: The figure 8 knot is probably the easiest and most versatile knot since it can be modified to be used with a bight or in a bend. The only downside is that if you’re working on a project, the knot will tighten and entangle with itself, making it harder to untie the more it stretches.
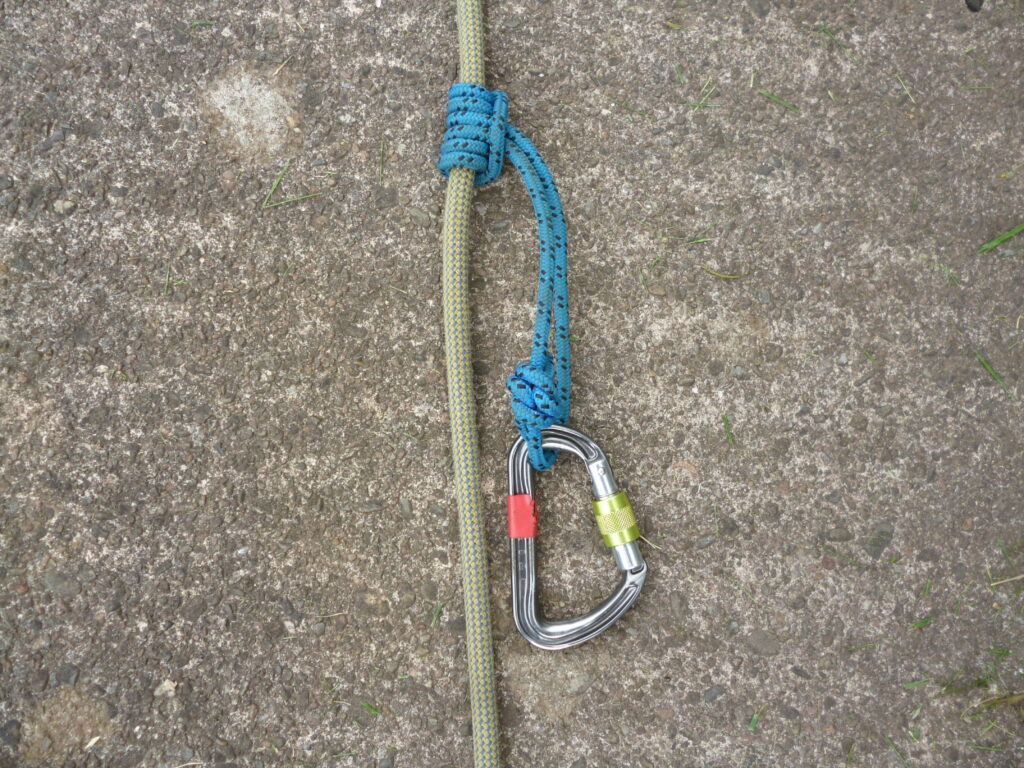
2. Prusik Knot
Prusik Knot (or Prusik Hitch) is one underappreciated climbing knot used to attach a loop of thin cord, called “Prusik slings,” to a climbing rope. A Prusik hitch is bidirectional, so you can move it forward or backward with minimal effort if it’s tied correctly.
That’s why it comes under a separate category called “frictional hitch.” Another frictional hitch you can use is the Klemheist Knot.
How to tie a Prusik knot?
- Make a loop from the first rope and place it behind the second one (or the object).
- Pick the connecting side of the know and feed it into the loop from the opposite end. Wrap it around loosely and feed it again through the loose loophole. Do it again once or twice to ensure security.
- Now, pull the hitch with enough strength so that all the loops grip each other as tightly as possible.
- Finally, prepare the hitch properly to make the loops parallel to avoid entanglement.
What you need to know: Prusik hitch is the go-to choice for backup and rescue systems since it can hook from either end since it’s bidirectional. The downside to a Prusik hitch is that you need the practice to use it properly, even though it’s pretty easy to tie (or prepare). Incorrect usage may cause it to jam under heavy load.
I have a separate guide on the Prusik knot so you can check about its various uses.
3. Clove Hitch
Clove Hitch is a simple yet super strong knot that can even be tied one-handed. It’s often used to connect the rope with a carabiner.
How to tie a Clove Hitch?
- Pick the rope up and form a loop by crossing it over. Form another loop similarly.
- Next, move the second loop behind the first so they overlap perfectly parallel and then pass the carabiner through both of them.
- Clip the carabiner and prepare the hitch by pulling it tightly from both ends.
If you’re at the anchor, you can make yourself stable with one hand and tie the one-handed Clove Hitch. To do so, grab the rope with your finger pointed up and put it in the carabiner, form a loop, and do the same thing again. Finally, clip the carabiner and pull the rope to tighten it.
What you need to know: The best part about Clove Hitch is that it’s effortless to untie and doesn’t jam under a heavy load. It unravels pretty quickly when you unclip the carabiner.
One downside is that Clove Hitch doesn’t bode well with a repeated load like a belay station as it can untie during loading and unloading. For that reason, it’s often used with a backup knot like Figure 8. Girth Hitch, Overhand Bend, and Autoblock Knot are pretty effective alternatives to a Clove Hitch.
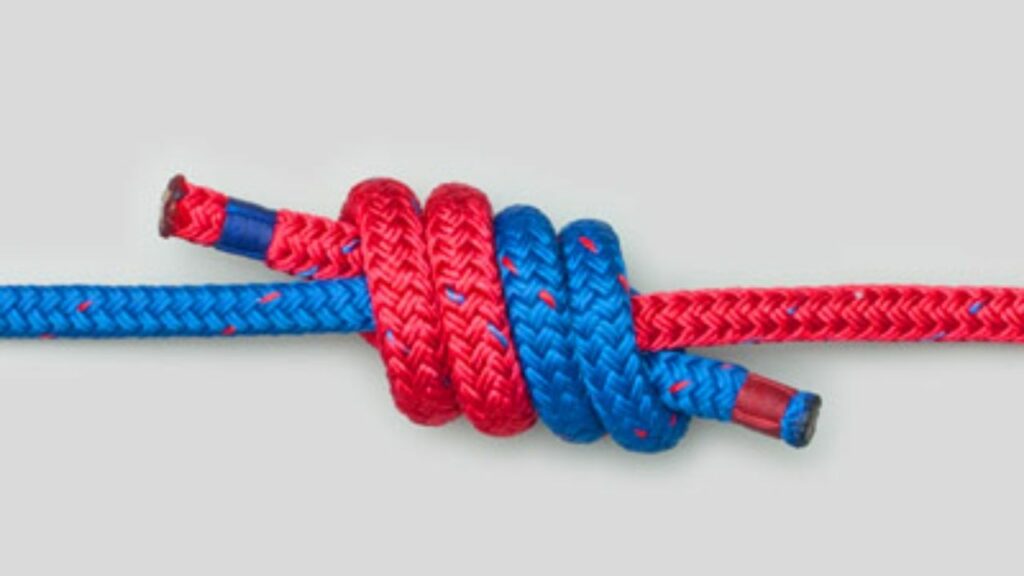
4. Double Fisherman’s Bend
Double Fisherman’s Bend (or the Grapevine Knot) is probably the best and most secure way to join two climbing ropes together. The bend doesn’t necessarily get entangled, but it gets nigh-impossible to tie with a load present unless you know the correct method.
How to tie Double Fisherman’s Bend:
- Pick up the working ends of two ropes and bring one on top of another, overlapping. Hold one rope in your fist with your thumb guiding its working end.
- Wrap the working hand of the other rope in your opposite hand over your thumb and the first rope. Bring the end under first and wrap it again to make an X-like shape.
- Take your thumb out slowly without disrupting the loop and feed the working end of the second rope inside the loop. Pull the knot tightly. This is essentially one overhand knot.
- Pull the first rope out to repeat the process to make the second overhand knot.
- First, dress the two knots properly by pulling them from both ends. Next, pull the ropes from either end to make the knots closer, thus forming a Double Fisherman’s Bend.
Ps…you can repeat the overhand knot process once to make it a Triple Fisherman’s Bend if you’re using a slippery rope.
What you need to know: The knot (bend) is almost perfect with its unbreachable security. I guess the only downside is that it can only be used to tie two ropes together and not two pieces of webbing.
5. Barrel Knot (Triple Overhand Knot)
The Barrel Knot is used on end as a closing system when you’re rappelling or belaying to work as the final layer of security. It’s there to prevent the rope from passing through the belay device.

How to tie a Barrel Knot:
- Pull out an arm’s length of the working end and wrap it around your hand such that the working end is at the back.
- Wrap working and standing end over the hand such that they make an X. Next, wrap the working end once more to form three parallel loops and then feed the working end through all three of them.
- Pull out your hand carefully and tighten the knot by pulling both ends.
- Finally, dress the knot to make sure the three loops are parallel. Pull the strands to bring the loops closer.
What you need to know: If a triple is too much, you can just do a double overhand knot, also called the Stopper Knot. These knots are pretty bulky and secure with a well-balanced trefoil-face as long as you tie them correctly. The only downside to a Barrel Knot is that it takes quite some practice to learn it properly.
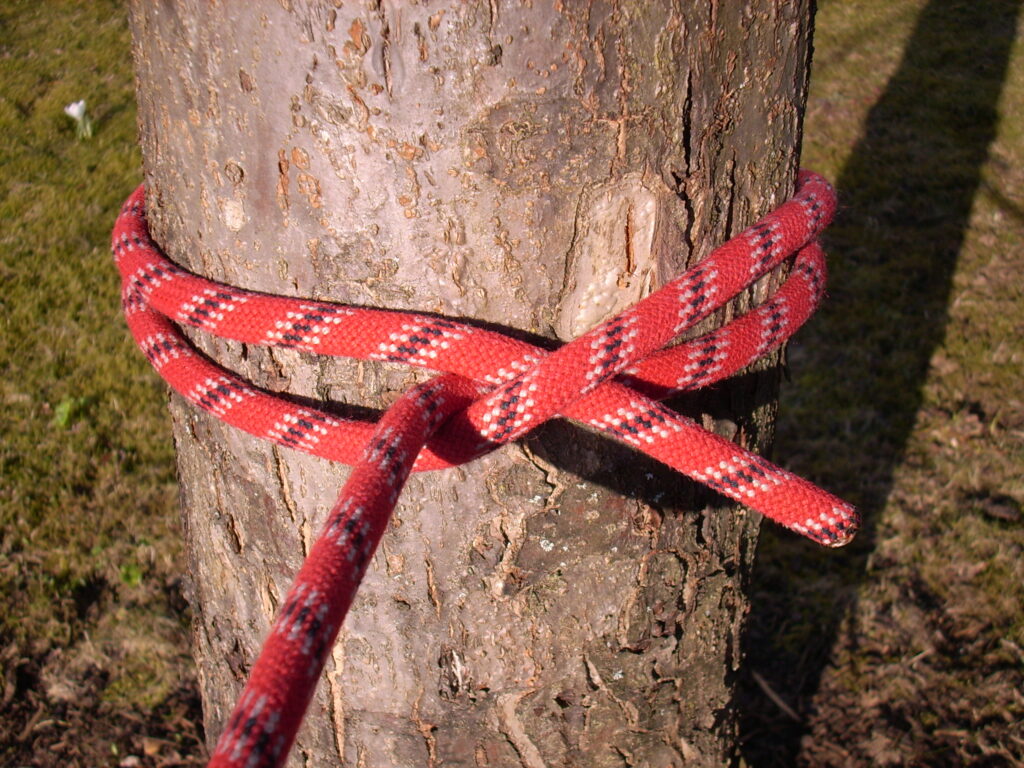
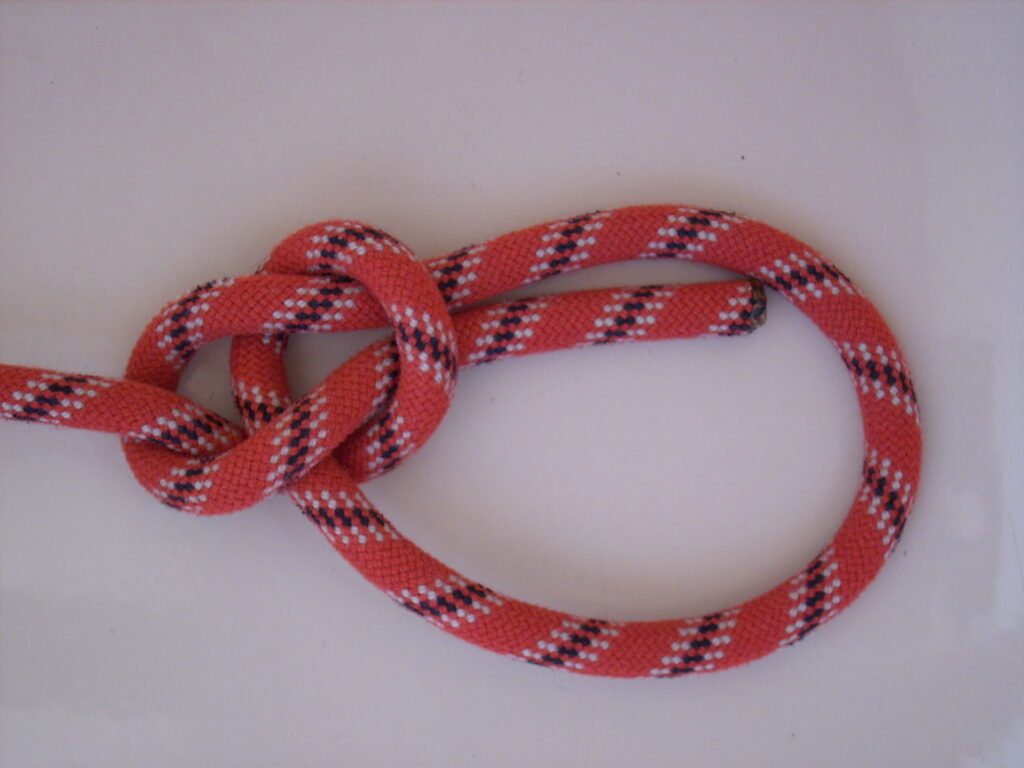
6. Bowline Knot
A Bowline Knot is best for tying your rope to a tree or other natural anchors.
How to tie a Bowline Knot:
- Wrap the rope around the intended object and form a loop on the standing end by crossing the rope.
- Feed the working end through that loop – make sure it’s parallel to the standing end for a secure knot. Repeat the process by bringing the working end behind the standing end and then feeding it through the loop.
- Finally, pull the strands to tighten it up and dress the knot, so the ends are parallel.
What you need to know: A bowline knot is quite strong and won’t untie with a load. Although it’s better to use a stopper knot as a backup. Bowline gets loose when shaken without a load.
Ps…if you want to use a Bowline knot with a harness, I recommend using a Double Bowline Knot.
And as I said earlier, there are many other knots you can choose from. I recommend trying out a couple to see what suits you. The six I have mentioned are my personal favorites and will be more than enough to perform most climbing tasks without a hitch. Pun intended.