
In late 2020 – early 2021, indoor gyms switched to dry tooling to minimize direct contact on holds. Though the medical community applauded gym owners, climbers weren’t too happy.
Even Adam Ondra, one of the greatest climbers of our generation, claimed, “I’d rather speed climb.”
Now that most climbing gyms are back to their regular schedule and mixed climbing tools are banned again in the US gyms, it’s worth exploring what dry tooling is and why you should care.
What is dry tooling? Is it harder than climbing?
Dry tooling is a safe haven for climbers in the winter season who can’t afford or want to ice climb.
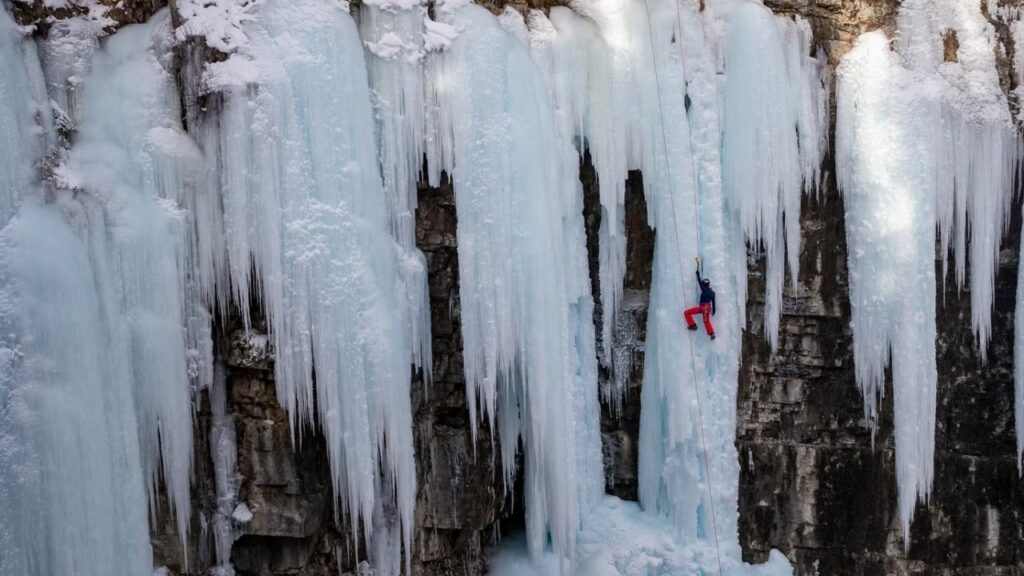
Dry tooling is a form of mixed rock climbing where you use ice axes and crampons to climb rock that isn’t covered in snow or ice. You get the feeling of ice climbing even though you’re climbing hard rock.
As you know, mixed climbing is when you climb a mixture of snow, ice, and rock. Dry tooling is a sub-genre that gets its bad PR from its outdoor usage.
Dry tooling looks fun in an indoor setting, but most climbers don’t see the point of using tools when you can “normally” climb rock walls, cliffs, and craigs with your hands. And I can’t say I disagree.
As for whether it’s harder than climbing, I don’t think it’s the right question.
Dry tooling looks harder than rock climbing, but it’s really not. There’s no difference in the difficulty of routes. However, dry tooling is certainly more dangerous than normal rock climbing.
Why should you get into dry tooling?
People get into dry cooling for two main reasons – training for ice (and mixed) climbing and recreation.
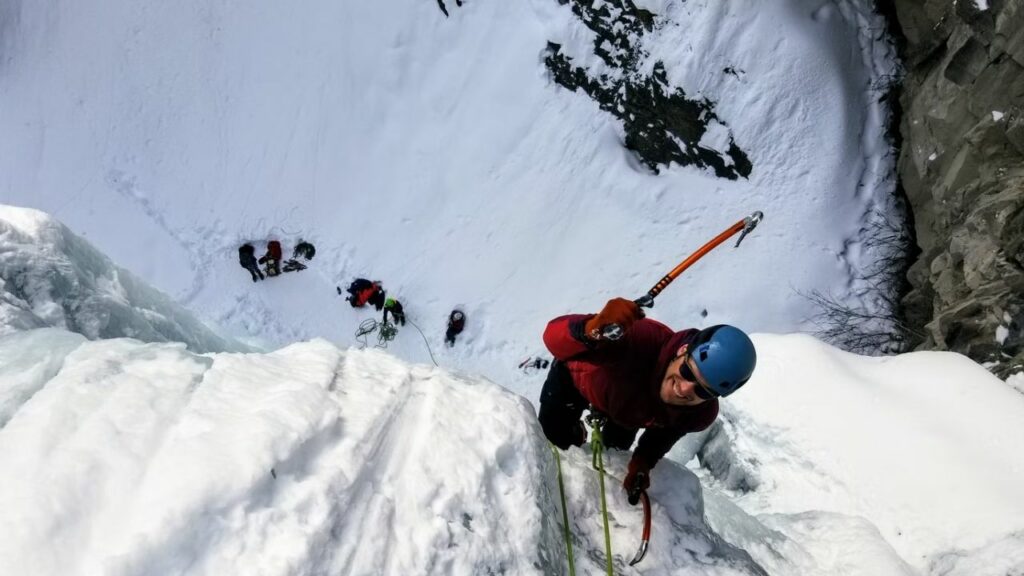
Dry tooling is the best way to master your skills for alpine climbing, especially when you don’t have access to ice walls. It helps you develop the right kind of muscles.
More importantly, it familiarizes you with ice tools and crampons used for alpine climbing. It’s dangerous to climb snowy mountains if you’re uncomfortable jamming your ice axe into the wall.
Beyond that, dry climbing is really, really fun and changes up your “normal” routine.
How to get started with dry tooling?
To get started, you need to:
- get the necessary equipment.
- organize space for dry tooling, preferably at your local gym.
- build core strength and endurance to balance yourself on ice axes.
- learn basic techniques such as figure four and figure nine.
1. Dry Tooling Equipment for Beginners
If you’re just getting started, I recommend borrowing or renting dry tooling equipment rather than buying everything. Only invest in equipment once you’re sure you’ll continue.
Here’s everything you’ll need:
A. Ice Axes
The first thing you’ll need for dry tooling is a pair of ice aces. They’re used to jam into cracks or hook onto handholds to pull yourself up. If you have a pair of mountaineering axes lying around, forget about them. Seriously!
Climbing axes are quite different than mountaineering axes. The former is curved more so it’s easier to climb by pulling up.
B. Crampons & Mountaineering Boots
Many people go dry tooling with just climbing shoes, so crampons aren’t an absolute necessity. Although, I recommend using them for two reasons.
First, you’ll need them for alpine climbing, so the sooner you can practice with them, the better. Plus, they look pretty rad.
If you get crampons, you’ll need a pair of mountaineering boots to attach them to.
C. Basic Climbing Gear
If you’re not dry tooling at your local gym, you’ll need basic climbing gear, which you probably already have:
- Helmet: You don’t need an alpine helmet just yet.
- Climbing Rope: Get a dynamic rope for dry tooling.
- Quickdraws, harnesses, and belay devices.
Why a belay device? Because DO NOT go dry tooling alone. Not worth it, my friend. Bring a buddy.
2. Places to Go Dry Tooling
There are lots of places you could go dry tooling at. Here are the four you should look for at first:
- Indoor walls at your local gym or home.
- Mixed climbing routes
- Dry tooling crags
- Choss piles/bad rock
3. Building Strength for Dry Tooling
Calling dry tooling intense would somehow still be an understatement. The niche sport is quite demanding for both your upper and lower body. You’ll need a rock-solid foundation and strong core to dry tooling properly.
To build strength, you should start with normal exercises such as pull-ups, lock-offs, deadlifts, squats, and push-ups, among others.
The second step will be to further engage your core by hanging off hangboards and beams using ice axes to stabilize your posture and technique.
Finally, train on the dry tooling walls by performing sets of figure 4 and figure 9 and doing some hanging sit-ups.
4. Learning Dry Tooling Techniques
You must learn basic dry tooling techniques as soon as possible, starting from figure four and figure nine.
A. Figure Four
A figure four is technically an ice climbing. To do a figure four, wrap your leg on top of the opposite arm. This position is best suited when you’re on an overhang.
This helps free an arm while maintaining a stable position on the overhangs. Figure four also makes it efficient to navigate the overhanging terrain.
B. Figure Nine
Figure nine is an ice climbing move opposite figure four. Here, you’ll wrap one of your legs around the arm on the same side. So, if you’re making a figure nine with your left leg, it’ll be wrapped around your left arm.
Figure nine helps move sideways in an overhang position, although it’s slightly more uncomfortable than figure four and hence not a stable resting position.
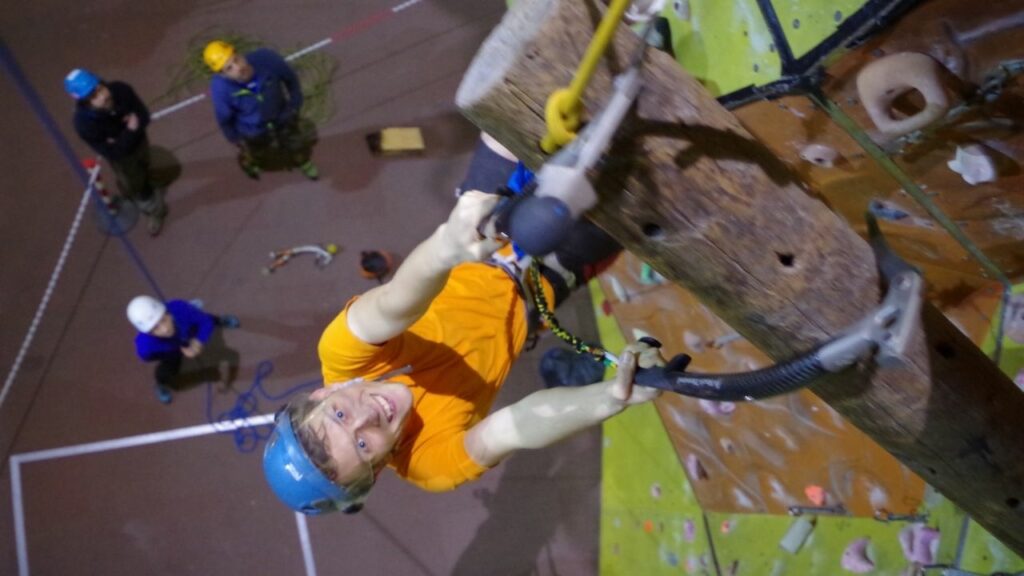
Can you go dry tooling at local gyms?
While most European and Canadian climbing gyms support mixed climbing and allow dry tooling, gyms in the United States haven’t caught up yet. Dry tooling or usage of any tools is not allowed in most climbing gyms because of safety concerns.
To the credit of gym owners in the US, falling sharp ice axes from above is not an ideal environment. People could get seriously hurt from it. Another issue is the damage the walls and holds would sustain from ice axes.
So, how can you tackle this issue?
The first thing to do is to have an open conversation with your local gym owner and ask their permission to use an empty wall that’s not being used currently. Of course, you’ll need more than that to make your case.
First, don’t use actual razor-sharp ice axes. There are many fake ice tools in the market these days designed specifically for dry tooling. Speaking of dry tooling products, you should get some holds yourself that have provisions for hooking.
Second, instead of putting these holds directly into the wall, you could put pieces of wood or rubber between the wall and the hold. This way, the wall will remain intact.
Believe it or not, USA Climbing has an entire page on Indoor Dry Tooling Guidelines that might help you convince your local gym owner. They state:
- Always wear a helmet.
- Use tethers to ensure falling tools don’t hit others.
- If gym owners allow, use nets to protect others from falling tools.
- Use secluded space for dry tooling if nets are not an option. This would be ideal for free-falling tools.
- Use backer plates and other means to protect the climbing walls.
Tips for Dry Tooling Sessions
Here are some tips for your upcoming dry tooling sessions:
- Sharpen the blades of your ice axes and points of your crampons at regular intervals. Jamming the ice axes into rock / holds and smearing them with your crampons can dull over time.
- Be very sure when clearing the area beneath you. During vertical or less than vertical falls, crampons could cause some real damage. It’s generally better to wear normal climbing shoes when people are around but only if the rock and weather are suitable.
- Focus on your breathing and relax. Acknowledge that you’ll have some fear at first because holding onto a wall with any tool is quite different than having direct contact with your hands. It’s a good idea to relax your hands by opening your thumbs.
- Remove the back part of your ice tools. They can swing back and hit you on the head in some cases. You’ll save yourself a concussion this way.
- Train regularly for both strength and endurance to build the appropriate muscles.
- Maintain the perpendicular position. The shaft of your tools must always make a 90-degree angle with the holds, even when you’re moving up.
- Check your gear before leaving your place and right before you begin dry tooling.
- Watch. Learn. Apply. Watch expert dry-toolers to learn new techniques and your mistakes.