Back in my gumby days, I was adamant about advancing to a non-beginner status. But it was more difficult than I expected. For one, I was still solidifying my fundamentals. More importantly, the “non-beginner” or “intermediate” status didn’t have a proper definition.
The line between a beginner and an intermediate climber is grey. There’s dozens of different criteria to be considered a so-called intermediate climber.
While there’s still no set standard, I’ve isolated a few basic skills based on my decade-long experience. Use this checklist as a climbing threshold to gauge your expertise.
You can be considered “good at climbing” if you have mastered these skills. And that is as close to a perfect intermediate status as you’ll get.
Basic Techniques to Master Beforehand
Before you begin your new training regiment for intermediate climbing, you must master the fundamentals. The good news is, as a newbie you can build a foolproof foundation from the get-go.
Feeding the right hand and foot placement into your muscle memory is helpful when you start learning advanced climbing maneuvers.
Honing the proper movements of basic techniques like drop-knee and rock over is also important. Refer to this guide to learn these fundamentals: 10 Rock Climbing Techniques Every Gumby Should Master
Intermediate Climbing Techniques to Learn Immediately
1. Dynos
Yes, I’m talking about those flashy dynamic movements (or simply “dynos”) that look super cool when done by an experienced climber.
Although, I should warn you that dynos are jumping moments that test your strength and technique. Dynos are mainly used during bouldering when the next hold is out of reach.
Proper foothold is vital do a dyno well. Next, you crouch down a bit, shifting your center of mass away from the wall. Then just use your legs to jump up.
Stretch your arms wide to grab the hold and immediately constrict to avoid popping your shoulder or hanging aimlessly on the hold.
You should practice dynos indoors. If your gym doesn’t have dyno-friendly routes, use climbing tape as tags for practice.
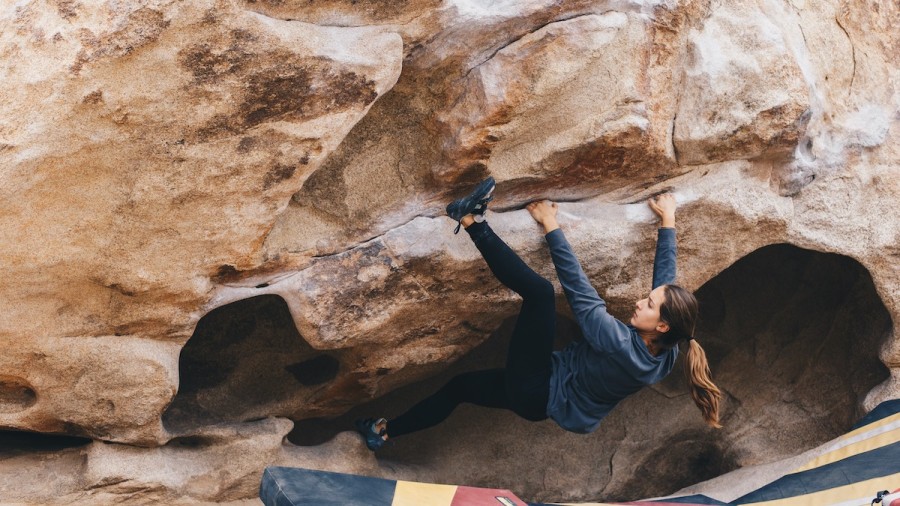
2. Twisting
As the name suggests, you’re twisting your hips and upper body to grab the next hold to achieve a more stable hanging position. The goal is to get your hips as close to the wall as possible without losing balance.
Twisting is important for intermediate climbers to get well-positioned and increase climbing efficiency. To perform twisting well, engage your core while twisting (moving hips) and keep your arms stretched.
As the climbs become steeper, use twisting on overhangs to avoid cutting loose easily.
3. Crossing Through
If you have been following my guides, you’ll know that I recommend beginners to learn cross-through. If not, it’s difficult to progress.
Cross through is an awesome maneuver that helps you grab two consecutive holds on the same side without getting into an awkward position.
To perform a cross-through on your left, lock your body onto the wall using the two footholds and the one handhold with the left hand. Release your right hand from the hold, go over your left arm to rotate your hip, and grab the hold on the left.
4. Gaston
A gaston is where you apply so much pressure on the holds on either side that the counter pressure is enough to keep you on the wall.
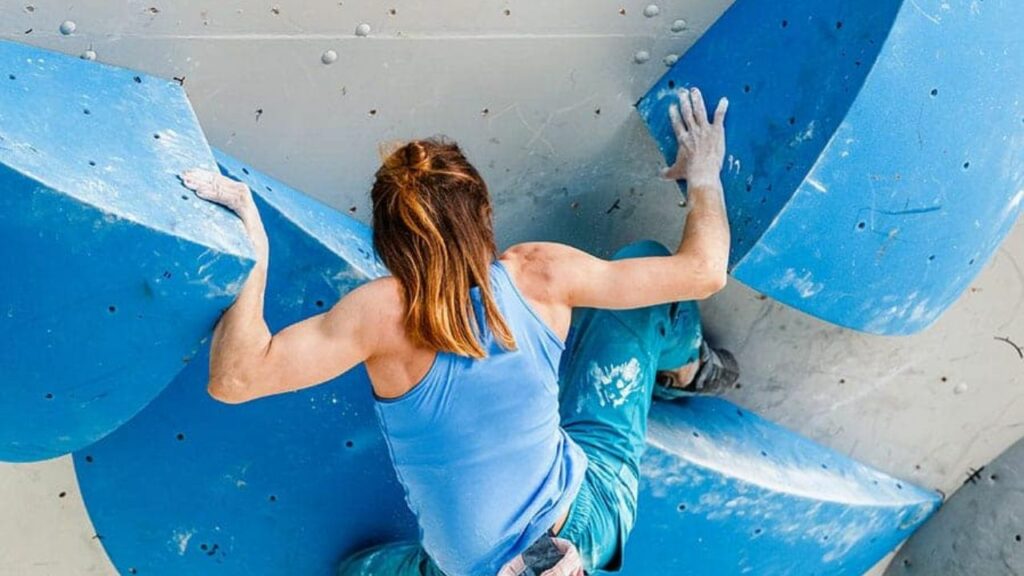
It’s not a move you should use often. Gaston is the backup move to save yourself when your footing is dicey and your forced to support your body weight with just your hands.
To do a gaston correctly, tighten your core muscles as much as possible. If not, you’ll lose strength in your arms and fall within seconds.
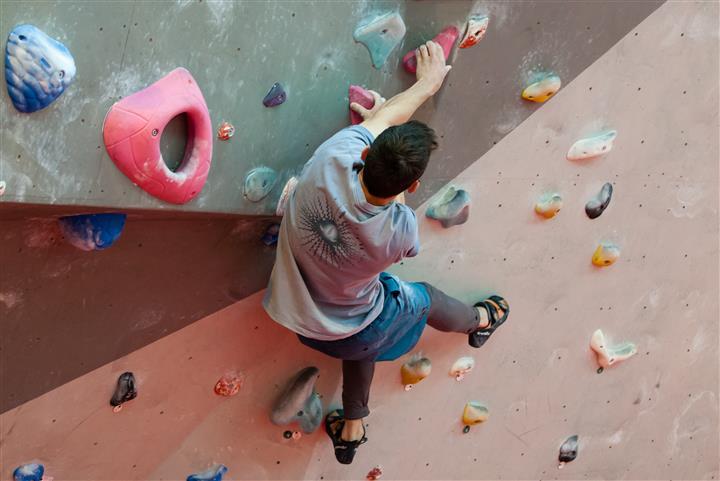
5. Drop Knee
Drop-knee is a simple maneuver that can make the hardest routes a tad easier.
To perform a drop knee, place your foot on one hold and then twist your knee towards the center of your core. It can be a simple hip twist or dropping your whole knee onto a hold below.
This way, you’ll be in a stable position with the next hold within arms’ reach. You just have to push, grab and move up.
6. Heel Plants
The heel plant allows you to twist and drop-knee in one go, though with some differences. You put A LOT of your weight on foot and get close to the wall while being stable. It’s basically a rest position to help you catch a breath during complicated problems.
A common mistake during heel plants is pulling yourself up by putting pressure on the back of the heel. Instead, grab the hold from the side of your heel with your knee pointing out. Then pull yourself up.
Once you’re up, slowly rotate the foot and grab the hold from the bottom with the toes slightly arching forward. Your knee and hips should be close to the wall.
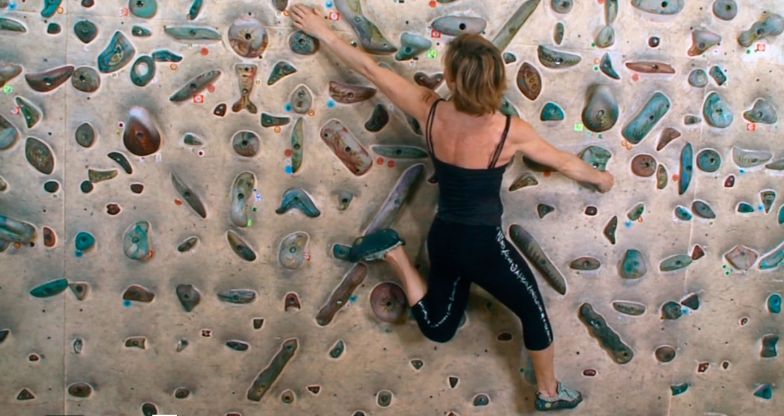
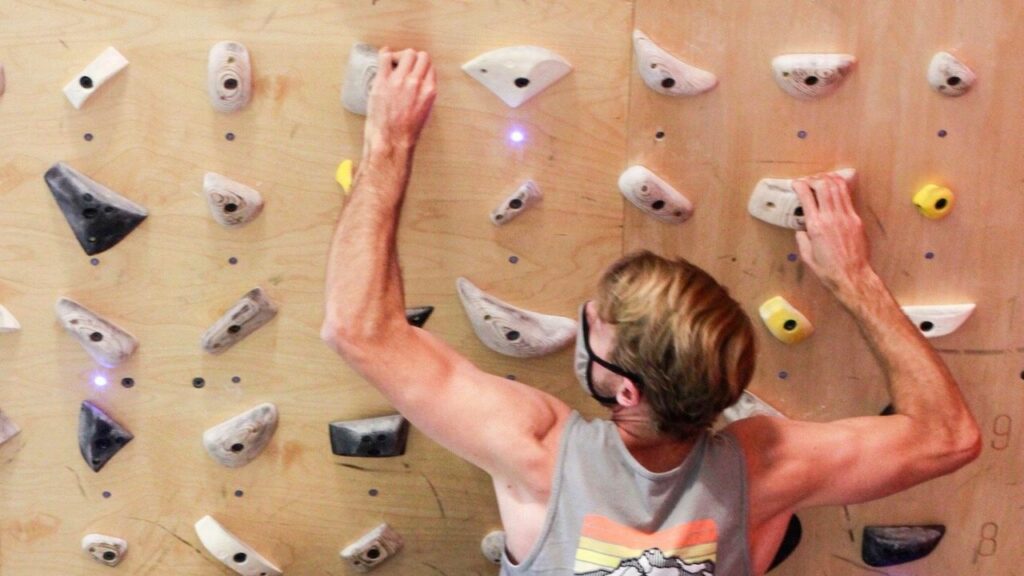
7. Crimps (Open & Closed)
Crimping is an intermediate climbing technique where you grab the hold from the tips of your gingers to hang on the wall.
Open crimp (or open-hand crimp) is a basic movement when you grab the hold from the fingertips with your palm open and facing downwards.
A closed-hand cramp is when your palm pushes towards the fingertips through the hold with your thumb placed over-index and middle fingers to lock them in.
Use closed crimps to hold yourself tight in a pinch. But remember, you can’t adjust a closed crimp. So you should use open crims instead for flexibility and adjustment.
Pro Tip: Arch your fingers over the tip when you crimp. Otherwise, you’ll tire and won’t be able to pull yourself up.
What is the threshold for an “intermediate climber”?
To be called an intermediate climber, you must have:
- above-average strength.
- mastery of basic technical skills with a few hard moves under your belt.
- skill level should be between V3 and lower V5 or 5.10a and 5.11d on the YDS scale.
- at least 1 year of outdoor.
- 2-4 years of indoor climbing experience.
Experience is vital to become a good intermediate. You may be able to send a comparatively harder route based on your inherent climbing ability, but that’s not your true capability for the overall grade.
As an intermediate climber, you need some amount of outdoor spotting and beta-finding experience. You should be able to send problems between V2 and V3 in only a few tries.
The proper movements and “right posture” should be second nature.
Finally, your knowledge should be spotless. An intermediate climber needs to understand the meaning of most climbing terms and ways to tie knots, belay, etc.
How to become an intermediate climber?
Despite the lack of definition, it’s not difficult to reach the intermediate climbing status. You simply need to accomplish multiple beginner-level maneuvers in one sequence that you were performing individually earlier. Everything boils down to practice and experience.
Here’s what to do to become an intermediate climber:
- Consult with an expert (maybe your gym trainer) and plan your training sessions. As a beginner, you were only focused on building core and muscular strength. Now, it’s important to tone your muscles. Identify your weak points in strength and techniques, and then eliminate them asap.
- Build your experience. Newbs are advised to train inside the gym. Now, it’s time to get out in the wild to become an intermediate climber.
- Don’t rush in and out of a problem. Instead, climb slowly. Teaching yourself to think on the wall during easy problems is the best preparation for intermediate and advanced climbing.
- Regularly try different indoor and outdoor climbing routes to get out of your comfort zone.
- Climb circuits every week or once every two weeks to build endurance and technical skills.
- Share beta with fellow climbers. Sharing your beta will help you learn from their feedback, while taking their beta will introduce you to new (and different) perspectives on solving a particular problem.
- Devote some of your time climbing in groups. Don’t try to be the best in your newly-formed group. Instead, focus on climbing with people who are more experienced so you can learn from them.
- Expect to fall a lot during climbing (especially bouldering). But learn how to fall properly to avoid injury down the road.
- Once you know how to fall properly, push yourself as much as you can during indoor climbing. It’s the safest way to gather new experiences and train your mind to make decisions on the wall.
- Most importantly, increase your knowledge. Try new problems and learn new methods of belaying, tying notes, making preparations for short-term and long-term climbing trips, etc.
Comp & Eliminate Are Important For Intermediate Climbers
At a certain point, it’s important to find a partner for healthy competition. We call them comp or climbing competitions.
The idea is to choose a couple of super-hard routes or ask a third person to choose them for you. Then take turns climbing the routes under a certain time restraint, like 20 minutes per try.
This way, you both get to work on the route multiple times in one gym session while sharing beta and learning from each other’s mistakes.
Also try the “eliminate” to find new ways of solving a common problem. As the name suggests, you just eliminate or prohibit the use of certain holds in a problem. It forces you to think on the go and learn how to find multiple betas per problem.