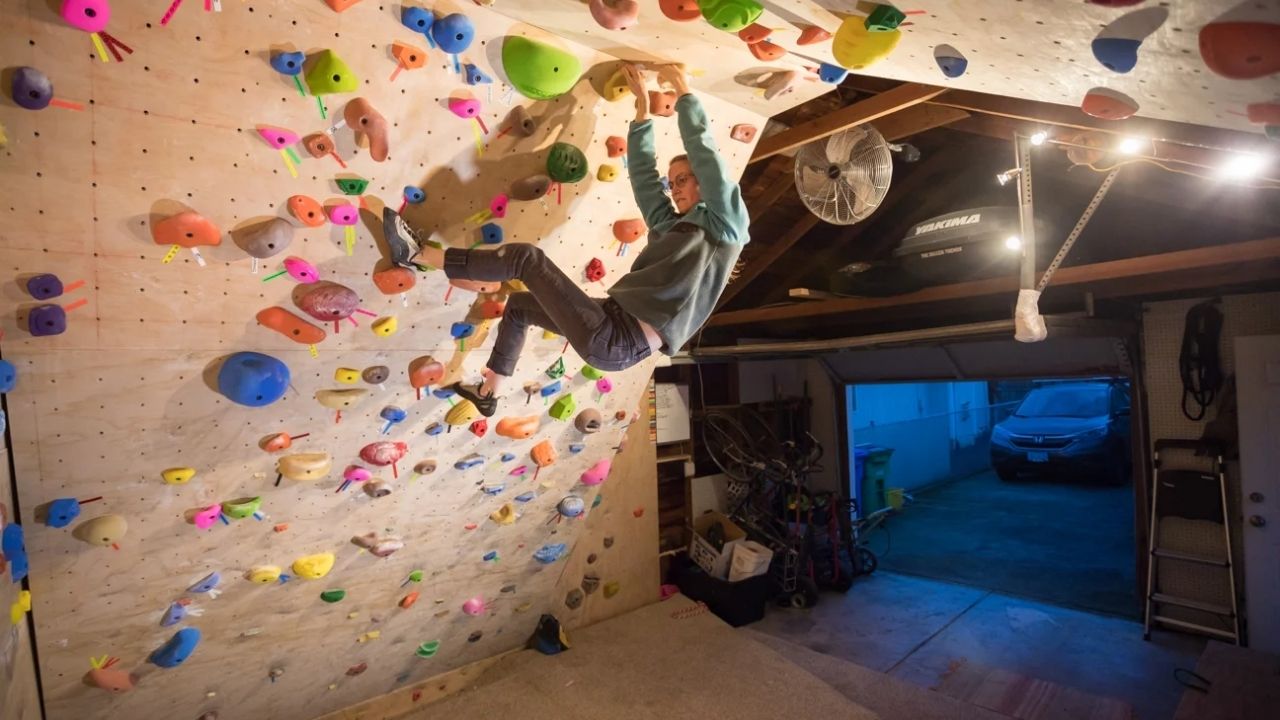
There was a time when rock climbing was much more fascinating than fun for me. I was a clueless beginner climber – a typical gumby. The idea of was exciting, but I didn’t realize that, first, I’d have to develop the fundamental climbing techniques.
I’d ask myself, when will I send a route without any hiccups? All gumbies have wondered something similar at one point or another.
The truth is, it’ll take time to get the basics down rock-solid. But, you can speed up the process by learning the important moves quickly.
Without any guidance, it took me awhile to understand the basics. Don’t worry though, I got you.
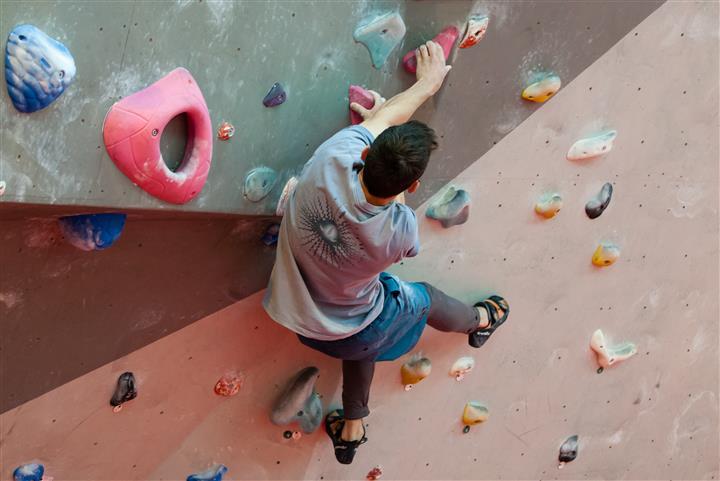
Let’s talk about the basic climbing techniques every gumby must learn right away. Before that, you gotta have the basic know-how of climbing holds and their shapes. There are LOTS of them.
Crimp, sloper, undercling, gaston, jug, sidepull, guppy, pocket, and pinch are the handholds, while smear and edge are used for footholds.
Now, let’s begin.
Techniques / Moves to Learn First
1. Flagging
Flagging is the most vital move to balance yourself in a pinch. You can quickly push / lock your hip towards the wall once you flag correctly. Flagging might seem like an advanced move, but you’ve been unintentionally performing it all along.
If you’re standing at two suitable footholds, you’ll notice how hard it is to shift the balance and move either way. You cement your position into the hold with one foot and use the other foot to push against the wall to perform flagging.
This will lock your hip into the wall properly. And then you can make your move to reach the next handhold.
2. Cross Through
Cross Through isn’t a technique but a simple maneuver.
To perform a cross-through on your left, lock your body onto the wall using the two footholds and the one handhold with the left hand. Release your right hand from the hold, go over your left arm to rotate your hip, and grab the hold on the left.
If you’re wondering, “why can’t I just reach for the hold using my left hand,” cross through is performed in situations when two consecutive holds are on the same side.
For example, the next hold you wanna grab is on your right, and the one after is further right. Grabbing the first hold from your right hand puts you in a very awkward position for the next.
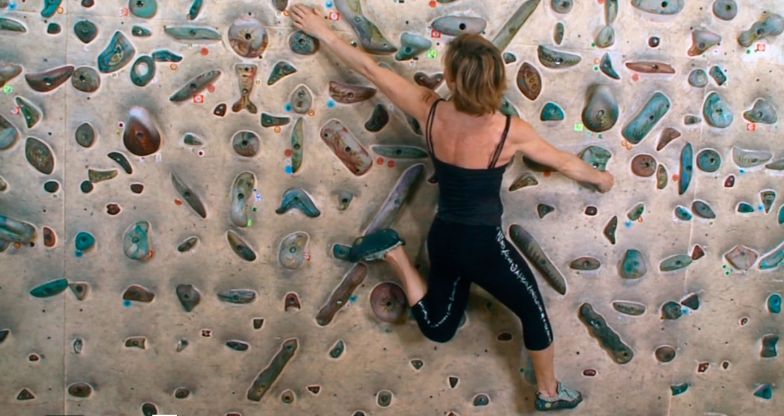
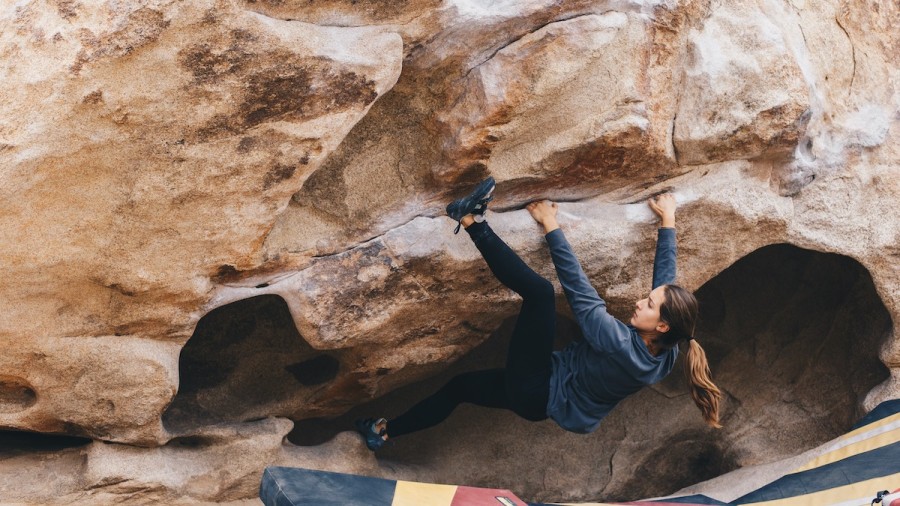
3. Bridging
Bridging, too, isn’t a technique. It’s a weirdly delightful mix of a climbing move and a position. Bridging relaxes you and gives you a quick breather mid-climb at a corner.
To do bridging, you’ll have one foot on each corner side. Once you’re locked in, take your hands off their respective holds. While it’s good for reducing forearm fatigue, bridging itself is a strenuous activity that requires precision and leg strength.
4. Edging
Edging is a simple maneuver to balance yourself on tiny holds. When a hold is so tiny your climbing shoe can’t get on top of it, use the tip of your shoe (where your big finger is) to grab / push down the inside edge of the hold to help maint
5. Rock Over
Rock Over is a mundane yet tricky move. You pull your body to move the weight across the holds. You can perform rock over(s) when footholds are aligned in a certain way.
To do a rock over, push your legs towards your chest by grabbing a higher hold. Then use your leg as a pivot to move across. And over your head.
Rock over is pretty easy if you know the fundamentals. The idea is to move your weight across diagonally and put your body above your foot instead of pulling your body directly upwards.
6. Drop-Knee
When I was a beginner, drop knee confused me. My mistake was to shrug it off as a merely decorative move that wastes energy.
In reality, there’s nothing better than drop-knee to make the hardest route moves look like a child’s play.
To perform a drop knee, place your foot on one hold and then twist your knee towards the center of your core. It can either be a simple hip twist or full flagged dropping your knee onto a hold below.
The position will raise your shoulder and arms, so it’s easier to reach the next hold and push.
7. Heel Hooks and Toe Hooks
The following three techniques (heel hook, toe hook, and layback) may not be pro-level maneuvers. Still, they’re certainly advanced for absolute beginners.
In this technique / maneuver, you’re using your foot as a third limb to grab (hook) a hold vertical upwards. These maneuvers are mostly done on upside-down overhangs.
With a heel hook, your toes are angled downwards and away from the wall so your heel can hook into the hold. However, with a toe hook, your knee is bent towards the chest and toes angled towards the wall for hooking onto (grabbing) the hold.
8. Layback
If I ask any gumby about the most difficult fundamental climbing technique, they describe layback more often than not. It’s because of Newton’s Third Law of Motion: every action has an equal and opposite reaction.
Think about how we walk using the equal and opposite reaction of the ground pushing us up when we take a step. It’s also how we climb, using two opposing forces to hang in equilibrium.
When we don’t have anything to oppose our force during a sidepull, we intentionally lean away and hang against the wall to maintain balance. This is called a layback.
Note: Avoid doing a layback without a spotter / professional present. It’s the hardest fundamental exercise, and one wrong fall can lead to an unwanted injury.
Learn How to Place Yourself Properly
Frequent gym-goers know that fewer reps with proper posture and technique is far better than more reps with lousy technique. This golden rule applies to literally every workout – pull-ups, push-ups, deadlifts, you name it. And it applies to climbing too.
Gumbies have the biggest advantage of all – you can learn the fundamentals correctly. It’s harder to unlearn bad habits. Your first priority is learning how to place yourself on the wall correctly.
Hand Placement Technique
Keep your arms straight but don’t stretch them. Bending or flexing your arms may temporarily provide explosive strength, but you’ll quickly tire out. Delay fatigue by keeping your arms stretched out and slightly relaxed.
Aim for the smoothest climb possible. It’ll take time but don’t avoid readjusting your hands after grabbing the hold. Your route beta should be good enough to use the right energy per movement, so you don’t need readjustment.
Learn to climb slowly while analyzing the best move possible. Trying to reach the final hold quickly creates the bad habit of overstretching your arms. Your forearm strength shouldn’t be the only tool under your belt.
Hand and foot placement works in synergy, allowing you to breathe and maintain energy properly. Overstretching might help you reach faster at more minor routes, but it’ll become dangerous as the difficulty increases. That said, it’s not a habit worth developing.
Leg Placement Technique
If there’s one thing you can count, every newbie climber has horrible footwork.
Ideal foot placement depends on our big toes. Whenever you grab hold, apply pressure in a forward direction using your big toes. When grabbing sideways, don’t put pressure through the heel or the middle part.
Aim for something similar to climbing a hill or walking faster. You switch to your foot’s front part to dictate the moment in these activities. Constrict your calves to make the leg rigid instead of dividing the weight throughout your feet to maintain balance.
Tips to Improve Your Climbing Faster
Here are some essential tips to learn the fundamental techniques and moves faster.
- Find a partner to climb with. While it may be hard to find good climbing partners, it’s worth trying at a local gym. It’ll help you both grow faster and climb safely.
- Don’t overdo it. The idea is to ease into this new “workout” so your body has time to adjust.
- Try outdoor rock climbing as soon as realistically possible. You’ll fall in love with the sport all over again.
- When climbing, use your legs to push your body towards holds. Don’t pull with your arms – it causes fatigue and the inability to grab footholds efficiently.
- Don’t hesitate to ask for advice. Asking others for the beta can help both of you understand the nitty-gritty of climbing different routes.
- Practice spot falling. Learning how to fall early on helps you avoid climbing injuries down the road.
- Avoid using too much chalk. It’s a misconception that amount of chalk is proportional to friction. Excess chalk reduces friction so you’ll slip much faster.
- Finally, make a climbing training routine and stick to it. No, I don’t mean a workout routine, building climbing strength as a beginner is a recipe for disaster. For gumbies, training means climbing a lot of routes!