As a beginner training at indoor climbing gyms, I used to be confused about the correct way of retrieving my climbing gear back all the time.
Do you just reach the top and pull everything up? In that case, how do you remove the anchored rope from the quickdraws? And more importantly, do you just leave the quickdraws there on the rock?
One time, a buddy jokingly told me the correct way is to leave the gear there and buy a new one for each route. And I believed him. Phew.
So, yes, I had a lot of questions just like you do. Fortunately for you, I now have a decade-long experience in rock climbing, mountaineering, and rappelling, and I ain’t gonna advise you to buy a new pair every time.
Here, we’ll take a look at how you can get your climbing gear back.
How do climbers retrieve their anchors?
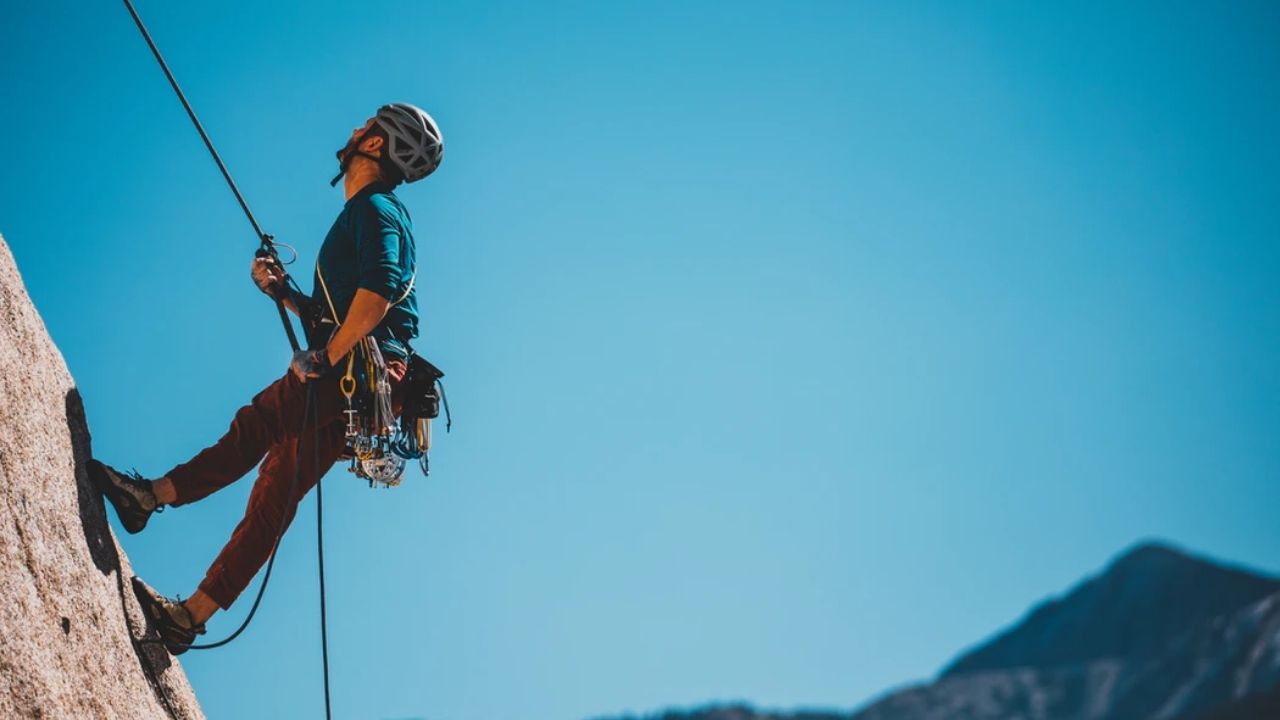
Unless you’re a free climber who can just “walk off” from the other side of the mountain, things are going to get slightly complicated for you. So, there are three things that you directly or indirectly use while climbing that are supposed to be retrieved: rope, anchor, and quickdraws.
Out of these three, anchors can’t always be retrieved if alternate supports are missing.
During the descent, climbers can retrieve anchors as long as there’s another anchor present for attaching the rope. This is because your anchor is holding your rope through the quickdraw, and you’ll fall down when it’s removed. If there’s no other anchor, you’ll have to leave it on the route.
Unfortunately, there will be times when you’ll have to leave your expensive gears. In such cases, you can choose either of the two options:
- Leave your anchor there for other climbers. A pre-existing anchor ensures that others won’t have to leave theirs behind.
- Climb back to the route and replace it with a cheaper anchor or a regular rock climbing bolt. So you leave that for others and keep your expensive gear with you.
How do climbers retrieve their anchored ropes?
Anchored ropes can be retrieved by descending down the climbing route and taking the rope out along the way. The climbers just need to be extra careful about maintaining their balance and footing while getting the climbing rope back.
1. Solo
Speaking from experience, retrieving gears when you’re climbing solo will be very hard. Here are some steps you can follow to make the job slightly more manageable.
- Start descending from your top anchor (or top of the climbing wall) until you see your second bolted anchor.
- Now, unlock the rope and immediately make a knot, which is temporarily used to replace the brake handle.
- Finally, take the rope out along with carabiners, quickdraws, and even anchors if possible.
- Untie the knot to release the rope and descend to the ground. Make sure you take everything from the route and take multiple trips if necessary.
Pro Tip: Use an ascender if you end up making multiple trips instead of climbing your way through every time.
Now, if you’re using a double rope instead of a single one, one of the steps is slightly different.
Getting The Double Rope Back:
If you’re using a double rope, you can start making your descent with one end and when you reach the length of the rope, lock the anchor at your current position. And release the anchor from the other end.
2. With Partner
Well, on to the easy part now. Retrieving climbing ropes back when a belayer (or second climber) is present is so much easier than doing solo. But don’t forget to be cautious. It’s just comparatively easier. You’re still hanging onto a rock.
You generally have more parts in lead climbing, such as nuts and hexes used as alternate anchors and other “trad gear.” These alternate parts help support the second climber who will follow your lead. And when you (the lead) reach the top, you’ll anchor yourself there and asked the other guy to stop belaying. Then it’s the belayer’s turn to start climbing.
Now, here’s when it gets interesting. Because the second climber is supported by alternate anchors, they’ll retrieve the gears as he ascends to the top while you’re belaying them.
This will make them the lead climber in the next round if you’re multi-pitch climbing.
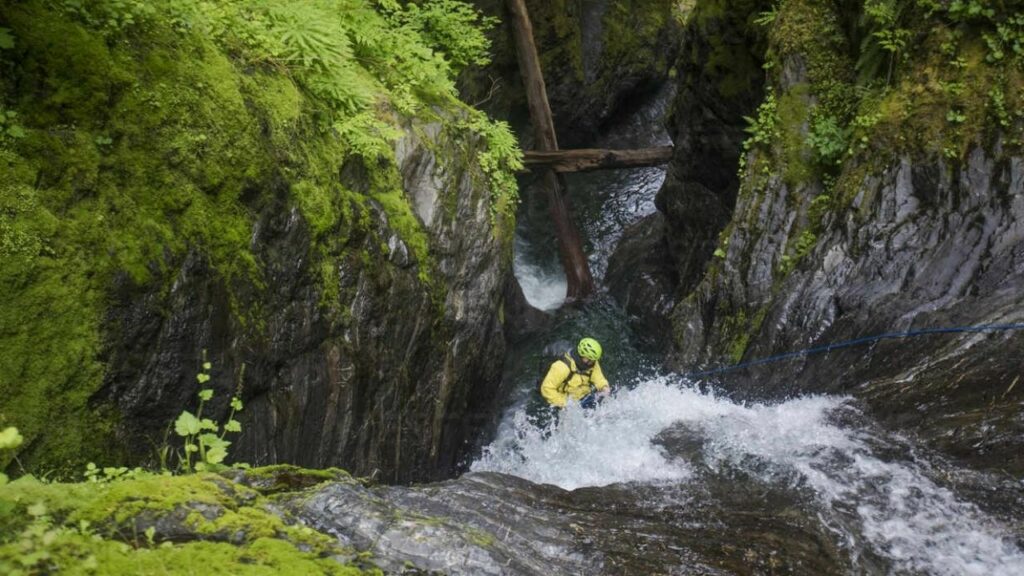
How to get the rope back after rappelling?
While mountaineering will follow the same procedure of retrieving gears, waterfall rappelling won’t. And their gear is already more expensive than the regular climbing gear. Here’s how you get your stuff back when climbing waterfalls:
Waterfall rappelling gear can be retrieved by not locking your rope with the top anchor. Let it sit on alternate support instead – a knot. There are two methods of doing this correctly: a two-stand rappel method and a tagline rappel method.
1. Two-Strand Rappel
In this method, you’ll either use a double rope or fold your rope in half and let both the strands go through your belay device together. This will create a loop that can be pulled upon at the end to retrieve the entire rope. The only issue with this method is that it cuts the length of the rope in half.
2. Tagline Rappel
In the tagline rappel method, you begin with a single strand, but it’s attached to a second smaller rope you can pull later to get the main one back. It’s not only hard but dangerous as well. So I recommend going with a two-strand rappel.
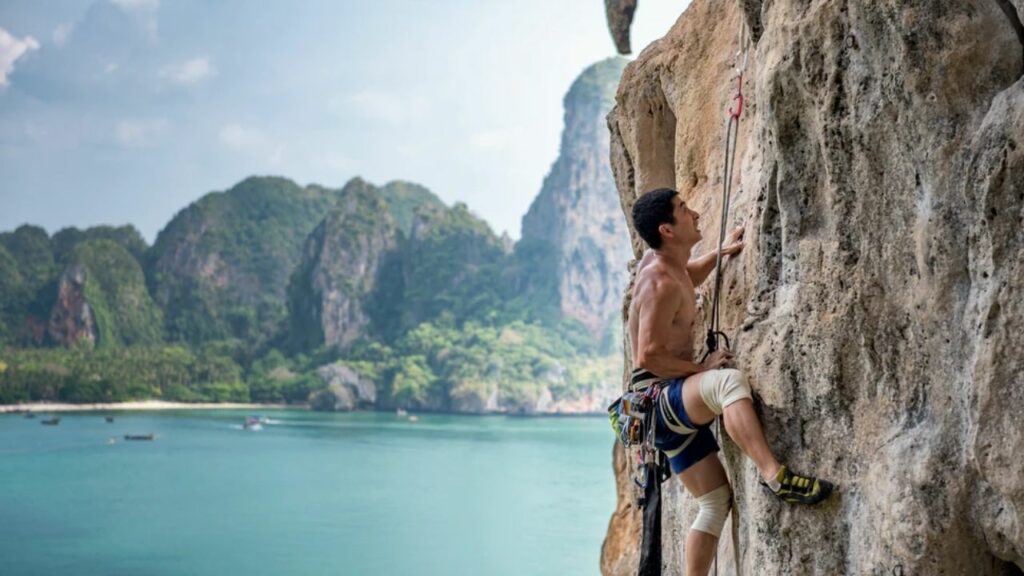
How do climbers get their quickdraws back?
Most climbers actually consider getting quickdraws back as a child’s play. But removing quickdraws from the anchors is slightly more complex than how it’s supposed to be.
It is straightforward, yes. But you risk imbalance every time you switch the quickdraw or take it back. The risk especially skyrockets when you’re working with an overhang on the climbing route.
Here’s how you get them back with or without a belayer:
1. Recovering Quickdraws When Climbing With A Belayer
Once you’re done climbing and hanging at the top of the rock with your rope attached to the first anchor, descend a little bit to effectively get all the quickdraws back.
Use a quickdraw to connect your rope with the belayer’s rope (the one that you came above). Now, start your descent again and remove the bolt from the anchor to retrieve it along with the quickdraw.
Now, it’ll affect your equilibrium very quickly, and you’re swinging around in a pendulum-like motion. That’s why your belayer mustn’t be distracted and ready to be the support you need them to be.
After you have a hold on the pendulum-like motion, keep descending and removing bolts and carabiners along with the quickdraws until you reach the final anchor. The final step is a bit tricky so pay extra attention.
As you will notice during your descent, the approximate rotation of a pendulum-like motion increases with an increase in the length of the rope measured from the first anchor to the last. And you can bet it’ll be maximum by the time you reach the final anchor.
So, your belayer needs to be 100% ready for this. You guys need to make sure there are no rocks or trees that you’ll run into. And your belayer will have to manually stop you from going too far as soon as you take out the final climbing route.
Here’s an exact explanation of the different steps your belayer can take to ensure your safety.
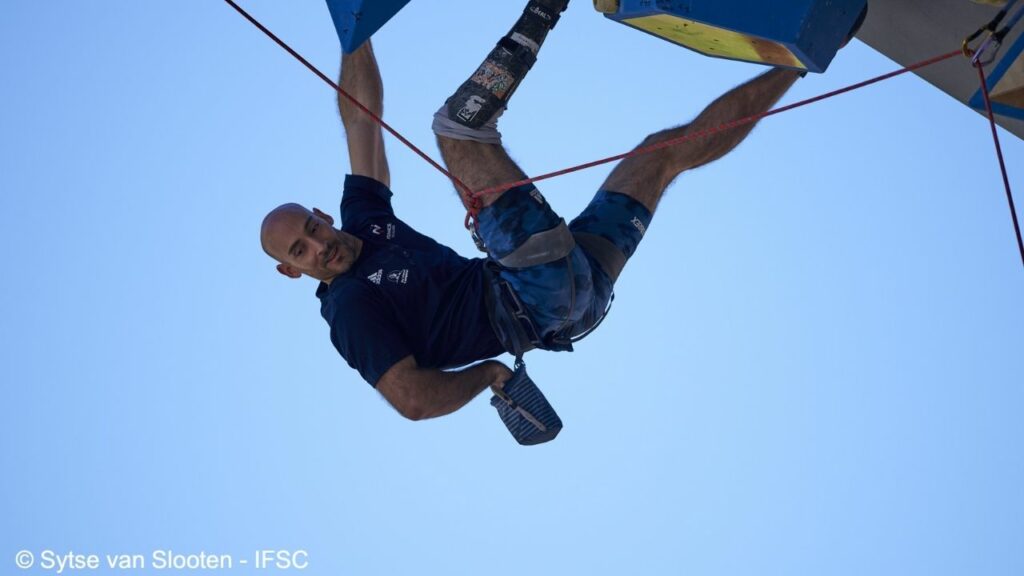
2. Recovering Quickdraws When Climbing Solo
If you’re climbing solo (without a belayer), you won’t have much problem until the final quickdraw. Yes, the previous ones will be hard, but you can manage them with sound control.
Now, for the final one, you need to leave it as is and come back to the ground. And from the ground, use a clipper attached to a big rod to unlock the carabiner and get the quickdraw out. Check this short video out on how to do it:
What happens to ropes on Everest? Can you get them back?
Now that you have learned the correct methods of retrieving all of your climbing gear on typical rock walls, let’s talk about the ultimate challenge. The Mount Everest.
Firstly, you don’t use your rope in most cases when climbing Everest. The Everest climbing routes are covered with fixed ropes using a carabiner and anchor system to attach to your belt and start the climb.
The fixed climbing ropes and anchors on Mount Everest are installed by dedicated Sherpas on Nepal’s side and similar Tibetans on Tibet’s side. They climb the route and fix the ropes every season on Mount Everest for safety reasons.
This is because the ropes on Mount Everest get an astounding amount of UV radiation and grow weaker over time. Injuries from climbing falls will skyrocket if these aren’t replaced every season.
That aside, it’s now time for you to try outdoor climbing (if you haven’t already). And if you have, well, now you can actually get your gear back instead of leaving it there.
Happy Climbing!