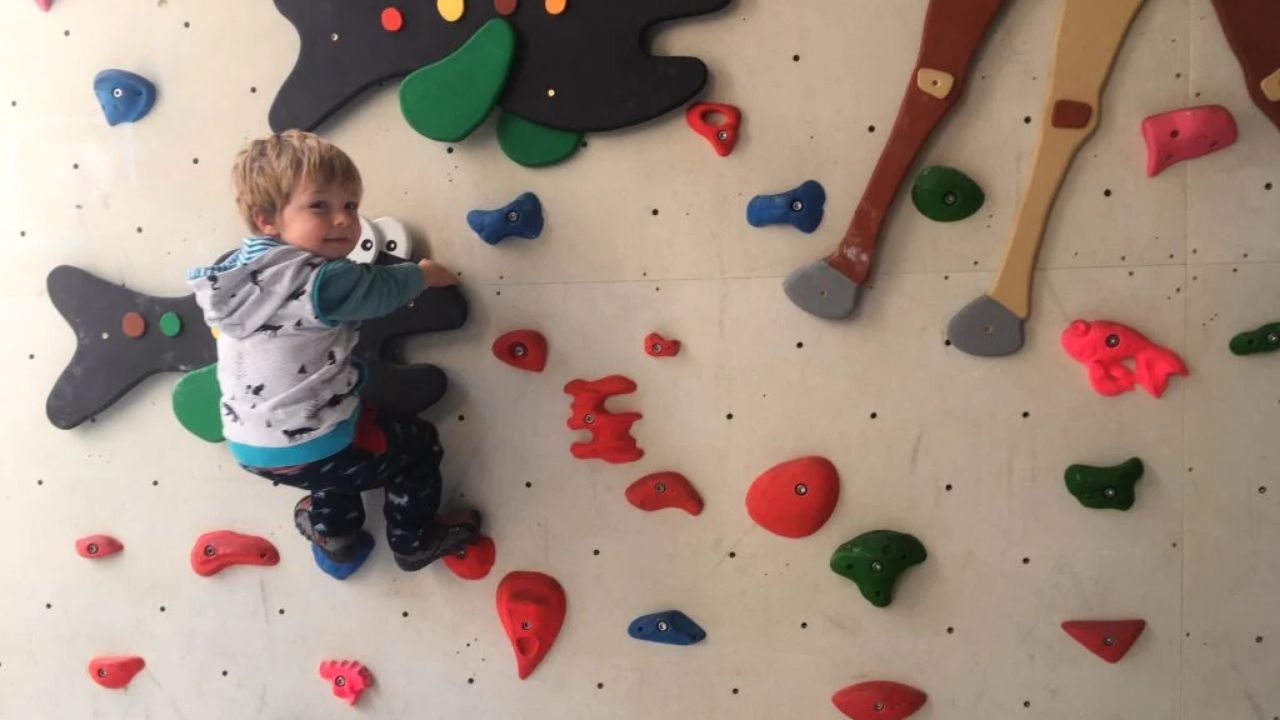
Your children may not go to the climbing gym with you, but I guarantee that once you finish installing your climbing wall at home, you’ll have to physically remove them from it. Kids love having fun and climbing is indeed a fun activity.
It’s not that difficult a task either. We recently talked about building a DIY rock climbing wall at home for adults. If you’ve read that guide or tried building one for yourself, making one for your kids will seem like a walk in the park.
Thanks to their short stature and inexperience, you can build a great indoor climbing wall with only 10-12 feet of wall height.
Here’s how it’s done.
Finalize the Home Climbing Wall Location & Its Final Design
First and foremost, make a decision whether you want an indoor climbing wall, an outdoor one, or one in the garage (yes it’s different than indoors).
Here are some pros and cons to help you decide:
1. Indoor Climbing Wall
Pros
- The wall will be easily accessible.
- It looks aesthetically pleasing and gives a “theme” to the room when done right.
- The wall will be safe from deterioration from outdoor environmental elements.
- Your kids are more likely to climb under your supervision.
- Your home walls can be used as support for the climbing wall.

Cons
- If made incorrectly, it can ruin the decor. This is more likely if it’s your first time.
- It could block windows, room entrances, and sockets depending on the location.
- You only have a limited space to work with, and the occupied will be unusable as long as the wall exists.
2. Outdoor Climbing Wall
Pros
- It adds another “activity area” to your property instead of building on it.
- It doesn’t ruin the design or aesthetics of your home.
- You’re not limited by the walls in terms of area or design. So, you can build the climbing space however you want.
Cons
- It’s comparatively unsafe. You can’t monitor children all the time.
- It’s not always accessible.
- The materials deteriorate more quickly from weather conditions.
- You’ll have to build rock-solid support, which incurs extra cost.
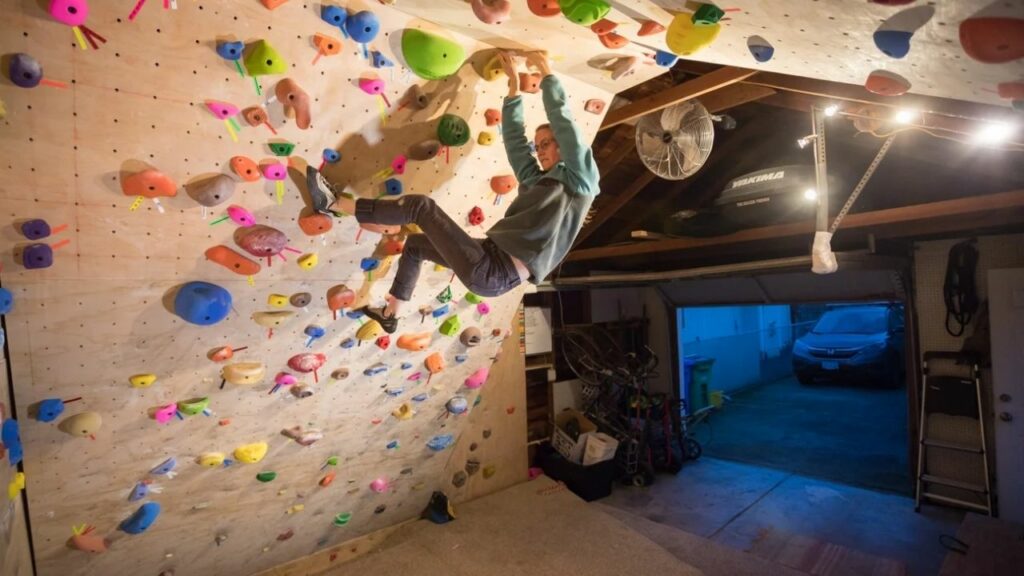
3. Climbing Wall in the Garage
Pros: Building a climbing wall in the garage has the best of both worlds – it’s unaffected by the weather conditions and doesn’t mess with your house decor either. You have a good area to work with, and it’s quickly accessible from the house.
Cons:
- It may be an unsafe area for children to be playing in depending on your current garage uses.
- It’ll either occupy the garage space permanently. Or you’ll have to take the car out to use it every time.
My thoughts: The choice of location depends on how old your kids are. An indoor climbing wall in the kids’ room is, for the most part, the ideal choice for 14-15 year olds. You could also go for the outdoor option if there’s not enough room in the house and you have a good design to work with.
I recommend the garage option for older children since they’ll need a larger climbing area. But if your garage is currently unused, then by all means, use it regardless of age.
Try to design in a space with an angle so an overhang can be made over the wall. It’ll keep the kids from reaching a plateau. Also, if you’re building inside, TRY choosing a space that doesn’t cover an entrance or a window.
4. Designing a Kids-friendly Climbing Wall
Designing a kids-friendly wall is not that big a task. There are several options and designs for you to look at online. Here are the basic tips to follow before implementing your desired design.
- Take actual measurements with a digital scale down to the tenth of a millimeter. Next, use a digital angle to get the angle of your overhang slope. These measurements must be as accurate as possible. There shouldn’t be room for “some adjustment” in your frame, or it won’t be as sturdy as necessary.
- Prepare a rough design on paper or in 3-D design software. There are roughly three major ways of making the climbing wall:
- Get long and thick plywood sheets to screw on the wall. Put primer on it followed by paint, then add bolt-on or screw-on holds. It’s undoubtedly the easiest way.
- Another method is simply cutting the plywood sheets in angles to accommodate the room elements (power sockets, doors, etc.).
- The final option is to make a frame first with thick and long pieces of wood. The frame is first attached to the wall, then covered by plywood sheets. It’s the hardest method, but your climbing wall will be sturdy and won’t put as much pressure on your room wall.
- Next, divide your space between 2ft by 4ft of plywood sheets since that’s the standard size. It’ll be easier to acquire and build on them.
- The last step is to finalize the color of the climbing wall and the location of the holds.
Required Materials for a Kids Climbing Wall
Here are the materials that you’ll need based on personal experience. You can determine the exact number based on your space.
- Cedar board for the wall front for aesthetics.
- For the face of the climbing wall, I’d recommend using Pine boards.
- Wooden cuboidal logs for the frame.
- Screws, t-nuts, hook eyes, and washers for fittings.
Of course, you can use different types of wood for your personal preferences.
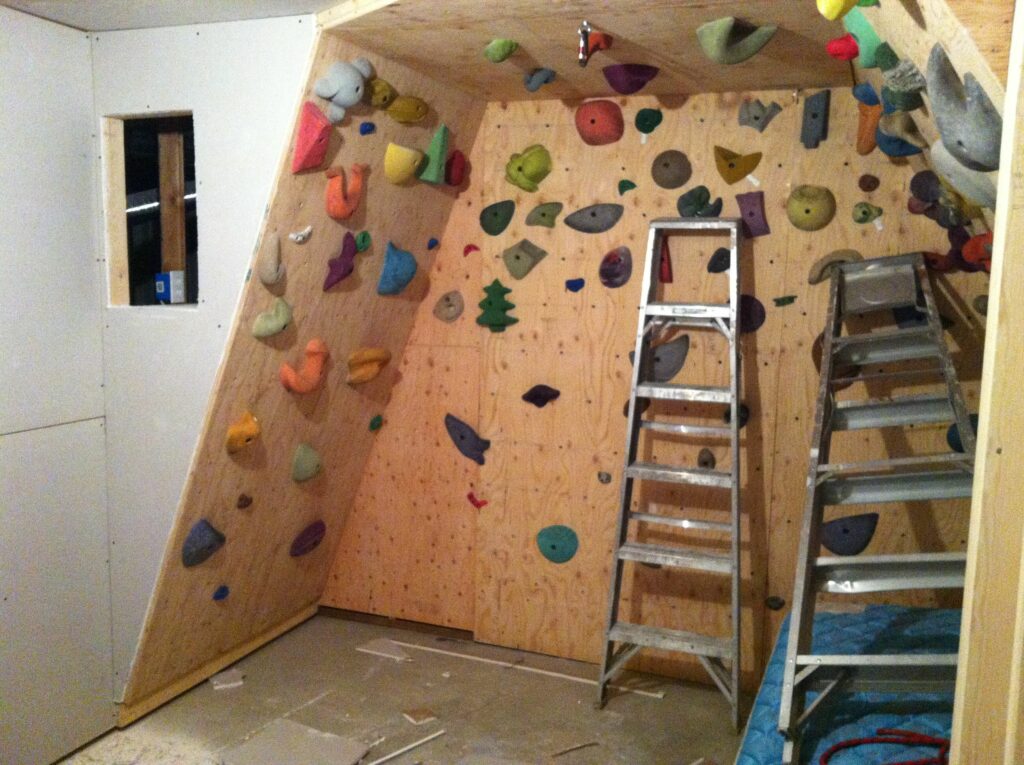
Building the Frame & Climbing Wall
If you’re simply screwing plywood on the wall, put 3 screws on every edge and attach them to a mason wall. Make sure you mark and screw on the studs if it’s a stud wall.
If you’re building a frame first, use the long wooden sticks to make the frame. Make sure you cut the angles as accurately as possible and design frame supports on both sides so it fits tightly within the walls. Screw the frame on the wall with long 5-6inch screws, so it goes through the frame and into the wall nicely.
The next step is to prepare the plywood and screw it on the frame. If you’re using screw-on holds, simply cut the plywood and attach it to the frame.
But if you’re using bolt-on holds, drill holes on the wall based on your design (standard design is 8-inches apart). Then attach the plywood to the frame after adding t-nuts behind each drill hole.
Finally, put some good quality climbing mats underneath, and you’re good to go.
Attaching Holds on a Kids Climbing Wall
Once you’re done, sand the entire climbing wall properly, then apply a finishing coat of paint. Finally, just get some climbing holds made of non-toxic resin and add them to the walls based on your chosen design.
How high should the kids climbing walls be?
A kids rock climbing wall at home should at least be 8ft to 10ft tall. The length of an overhang climbing wall should be at least 10ft to 14ft, if possible. Outdoor home climbing walls should be 10 ft minimum with no definite upper limit.
The general idea is to get the wall height at least 2ft above your child’s height so they can do traverse climbing sideways. This also helps to prevent the climbing course from getting boring and repetitive.
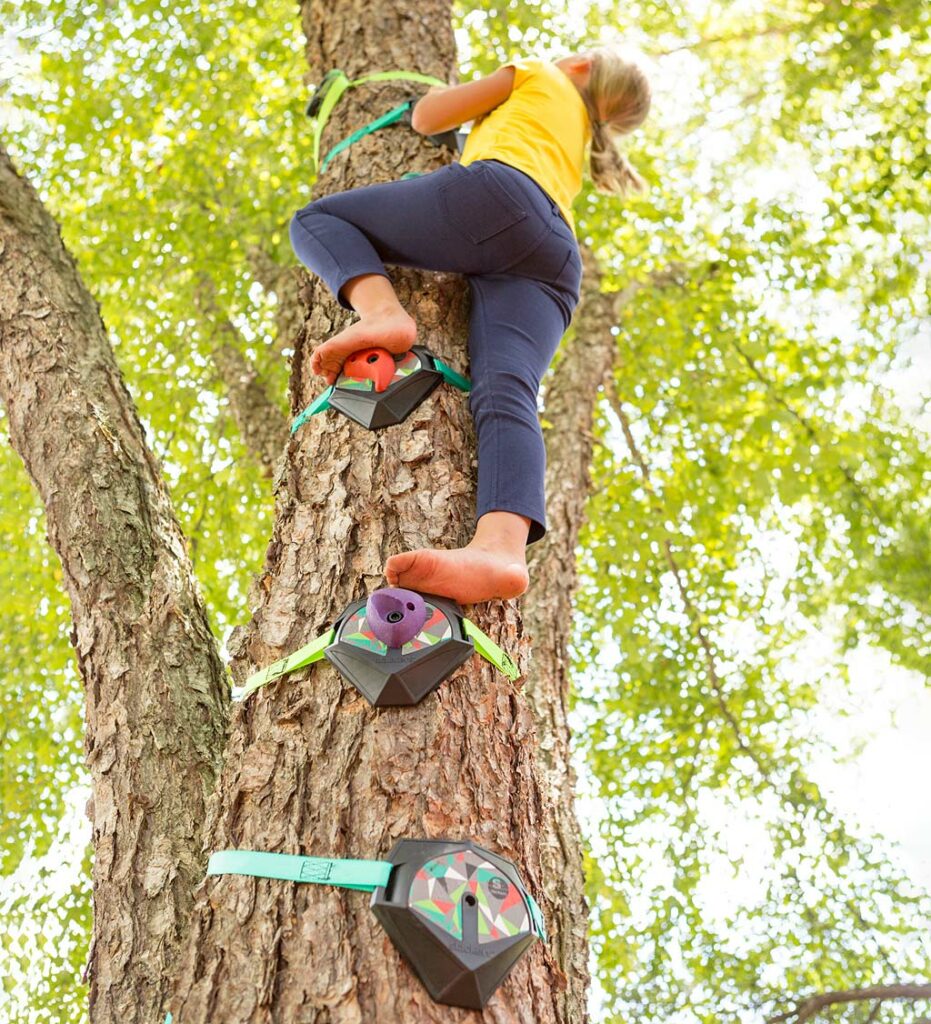
How to attach climbing holds to a tree?
Without an adequate place indoors or outdoors, some parents take the term “little monkeys” a bit too seriously for their kids.
Honestly, I’m absolutely against destroying trees by screwing holds onto them. And yes, it does put some extra burden and slowly ruins the tree regardless of what you have heard before.
So, why am I telling you the correct way to attach climbing holds? It’s a paradox.
While I don’t promote the activity, I know some people will do it anyway. Here’s how you can do it as safely as possible and avoid unnecessary risks and injuries.
First, add a fail-safe mechanism for safety using a chain anchor attached to two different bolt hangers on each end through 4-inch lag screws. Run the rope through the anchor to set up your climbing rope / belay.
Use small holds made of non-toxic resin and screw them on for climbing. Don’t blindly drill using a cordless one and check for uneven services. Smoothen the bark out, then attach your holds.
Safety Tips:
Remove a couple of feet of holds, ropes, and harnesses every time you finish your climbing session. It’s pretty dangerous to allow public access without correct supervision and equipment, especially children.
Good luck and let me know if you have any questions!