No one needs to be really good at snowboarding to have fun. But the fun increases exponentially if you put in the effort to improve your skills. The adrenaline rush is so addicting that you’ll have to be forced off the snow after you add a couple tricks to your boarding arsenal.
In this guide, I’ll walk you through the beginner-friendly snowboarding tricks that you should first work on immediately and how you can master them.
Then, we’ll segway into some of the hardcore tricks that will take some preparation and a lot of practice.
There are essentially 5 types of basic tricks or techniques that combine to do a snowboarding trick. These are jumps, rotations, presses (pressing one side of the snowboard and keeping the other in the air), grabs, and rail tricks.
First Learn How to Jump Properly
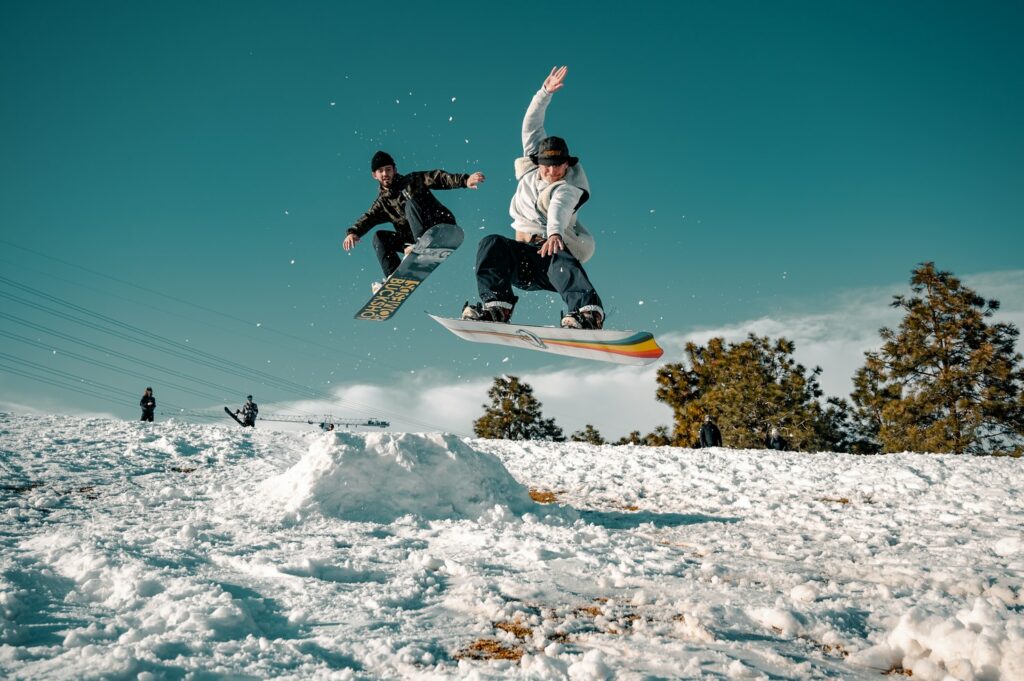
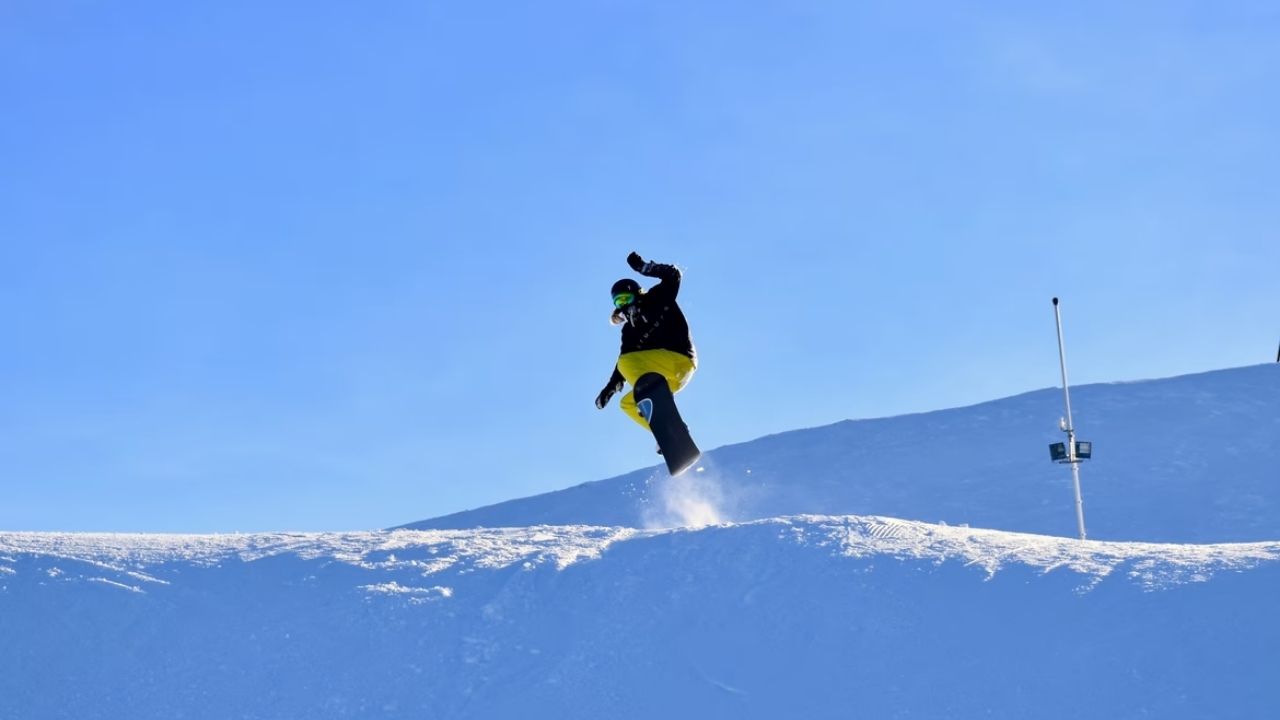
The snowboarding jump may not be a separate trick, but it requires the same amount of practice. You have to learn how to jump correctly even though you won’t need it for every trick. Snowboarding jumps are not that different from skateboarding ones – both look way harder than they actually are and require baby steps for mastery.
Of course, safety is a big concern, so beginners should stick to the smallest jump location and then keep practicing until you can flawlessly maneuver on it ten out of ten times. After this, we just gradually increase the height.

How to do a basic snowboarding jump?
- Get as far away from the jump location as possible.
- Start boarding to gather a little speed and adjust your angle, so you hit the jump precisely in the straight center.
- Make sure your stance is straight with hands on the waist level when you’re mid-air to maintain balance.
- Crouch down slightly while keeping your back straight to absorb the impact on your knees and land safely.
Pro Tip: Beginners tend to get scared and try to slow down right at the moment of the jump. You don’t want to do that. You’re not in a car, and it’s not a speed breaker. You NEED that momentum for a successful jump.
DISCLAIMER: It’s more of a tip than a disclaimer, but never land without bending your knees, or you’ll end up with a minor or major leg injury.
Beginner Snowboard Tricks to Master
Here’s a list of tricks beginners can start practicing immediately after you master the fundamentals and maneuvering.
1. Ollie
Ollie is as simple as snowboarding tricks can get. It’ll be even easier if you’ve done skateboarding before since it’s a common skateboard move. You basically use the tail of your snowboard to launch yourself in the air like a spring.
How to learn Ollie:
- On a flat plane, use your back leg to slide the board towards your front and then pull the front leg up on a flat plane.
- The back leg follows and pulls the board’s tail flawlessly in a spring-like motion.
- Fold both legs towards yourself mid-air to position the board directly under you and prepare for a landing.
- Land while slightly crouching down, so your knees absorb the impact efficiently.
It’s a fundamental trick, but it’s pertinent that you master it. You can add Ollie to so many other tricks and perform them better.
2. Nollie
I wonder who comes up with these quirky trick names – “Ollie” and “Nollie.” Nollie is simply an inverted Ollie, just with a higher difficulty level. It’s because you’re putting the force against the motion of the snowboard, so you need better maneuverability. Here’s how to do it:
- Stand upright on the snowboard and use your front leg to push the board backward.
- Jump / pull the back leg up, followed by the front leg, for a spring-like motion.
- Flex both legs to bring the board under you and then land while bending your knees.
Pro Tip: Don’t try Nollie until after you perfect an Ollie at least 7 out of 10 times.
3. Tail and Nose Press
You can try the two press tricks on a flat surface as well. Here’s how to do it:
- Shift your weight onto the tail of the snowboard to press it in the ground. Maintain the position by flexing and stretching the back and front leg, respectively.
- The nose of the board will begin rising as you keep pressing the tail, but be sure to only move your hips. You’ll fall over if your back isn’t straight.
- Reverse the steps to perform a nose press and raise tha tail of your snowboard.
Just like Ollie, learning tail (or nose) press helps strengthen your fundamentals. In Ollie, you learn the nuances of mid-air maneuvering. In a tail press, you learn how to shift your weight around the board.
4. Grabbing Snowboard Mid-Air: Melon, Indy, Nose Grab & Tail Grab
So, these are four different tricks performed by grabbing different parts of the snowboard mid-air. These grabbing tricks are fantastic building blocks for more advanced tricks.
Ps…be sure to get some speed and perform a basic snowboarding jump or Ollie (without speed) for all of them.

To do a Melon grab, touch the heel edge of your snowboard between your legs mid-air.
To do an Indy, touch the toe edge of your snowboard between your legs mid-air.
To do a nose grab, jump, and touch the nose (front end) of your snowboard mid-air.
To do a tail grab, jump, and touch the tail (back end) of your snowboard mid-air.
These tricks are essentially a combination of Ollie and the two press tricks because you’re maneuvering mid-air while simultaneously shifting your weight.
5. Flat Spin 360
The trick is literally to spin your board 360 degrees (a complete circle) while snowboarding forward on flat terrain. The idea is to constantly switch between your toes and heels as the primary force points to make a circular motion with the snowboard.
Here’s how regular riders can do flat spin 360:
- Keep the nose of your board up while doing a toe-side spin to rotate clockwise.
- Once the board starts spinning, put pressure on the nose from your front foot and pull your toes up on your back foot so the board keeps spinning without resistance.
- Once half rotation is done, keep the nose uphill and shift the pressure to the right foot’s heel edge to maintain a clockwise rotation.
If you’re a goofy rider, you’ll rotate counterclockwise. The pressure and weight shift starts from your toes on your right foot and finishes at the heels of your left foot for a full rotation.
6. 50-50
The last fundamental trick to learn as a beginner is the 50-50. In this trick, you simply ride a box or rail structure nose-first. It’s definitely not as easy as it looks. Well, maybe it is for us skateboarding fans.
Here’s how to do a 50-50:
- Go as far back as possible and ride straight towards the box or rail.
- Straighten your posture, slightly bend your knees, and adjust to line up with the box.
- Lift your legs slightly to lift the nose and push them back down after making contact with the box or rail and ride it off.
Pro Tip: Start with a box that’s smaller and wider so you can practice properly.
Tricky Snowboard Tricks to Prepare For
Here are more advanced snowboard tricks to start practicing after you’ve mastered the basic move:
- Tripod: The trick is as simple as lifting one end of your board up, then crouching down to touch the ground with your hands – a three-point contact. The hardest part is maintaining balance – practice it once you’re comfortable maneuvering and balancing the board.
- Boardslide: Remember 50-50? It’s the same, except you and your board are sliding perpendicular to the rail instead of parallel to it.
- BackFlip: BackFlip is one technique that many boarders understand but haven’t perfected actually doing it. You’ll need ample space, good timing, and lots of practice for this one.
- Backside 360 & Frontside 360: In a backside 360, you jump and lean backward to complete a full circle before landing. A frontside 360 is the opposite of this.
- Backside 180 Rewind: In this technique, you basically speed up till the jump and perform a backside flip (either 360, 540, or more depending on your rotation). But right before you hit the ground, take a 180 “rewind” to change the direction you’re facing. It’s a super tricky technique even for advanced snowboarders, so don’t try this unless you’re confident in your backside flip maneuvering skills.
Enjoy, and let me know if you have questions or boarding tricks to add to this list.

