Diving deep under the lakes far beyond our eyes can see is a transforming experience for scuba divers. For beginners, however, getting started can be both exciting and overwhelming at the same time.
Many things have to be figured out before you get to scuba dive – from equipment to training and finally getting your scuba diving certification. While the experience is well worth the effort, you’ll still need some guidance to get through.
I’ve made this quick guide with dozens of tips, so you don’t have to look for advice every step of the way. First tip: don’t start diving training just yet.
Scuba diving is far from the “natural order of things.” We don’t have gills, so our brains switch on the warning lights for the first dive. These signals can range from “you need to practice” to “we can’t do this.”
So, first-time divers should take an introductory Discover Scuba Diving (DSD) training course to see if it’s for you.
Meet the physical requirements criteria.
There’s one pseudo-step before DSD: meeting the physical requirements to become a certified scuba diver prepared for the open waters.
Most everyone can scuba dive these days thanks to constant scientific advancements. You just need to meet the criteria – physically fit, healthy, and comfortable enough for an underwater dive.
Few medical conditions prevent you from diving underwater. Go check them in this detailed guide:
Essentially, the seriousness of your condition and current physical health are the major determining factors because we’re not dealing with absolutes here. If your physician gives you the green signal, you’re good to go.
Take a DSD (Discover Scuba Diving)
Discovery dive is something everyone must do without exception. Regardless of whether you want to do a standalone recreational dive or go on a monthly basis, you HAVE to complete a DSD program.
Luckily, taking a DSD is quick and easy via a dive shop.
Most dive shops, if not all, in the United States, offer a discover scuba diving experience. Just be sure to check online reviews before visiting the shop. Then, you’ll fill out a couple of forms, and voila! You’re DSD-ready.
Discover scuba diving is in an enclosed area – either a swimming pool or confined areas in open waters – to ensure you’re not affected by the waves. Even though it’s not an actual dive in the open waters, you’ll need to rent out basic equipment.

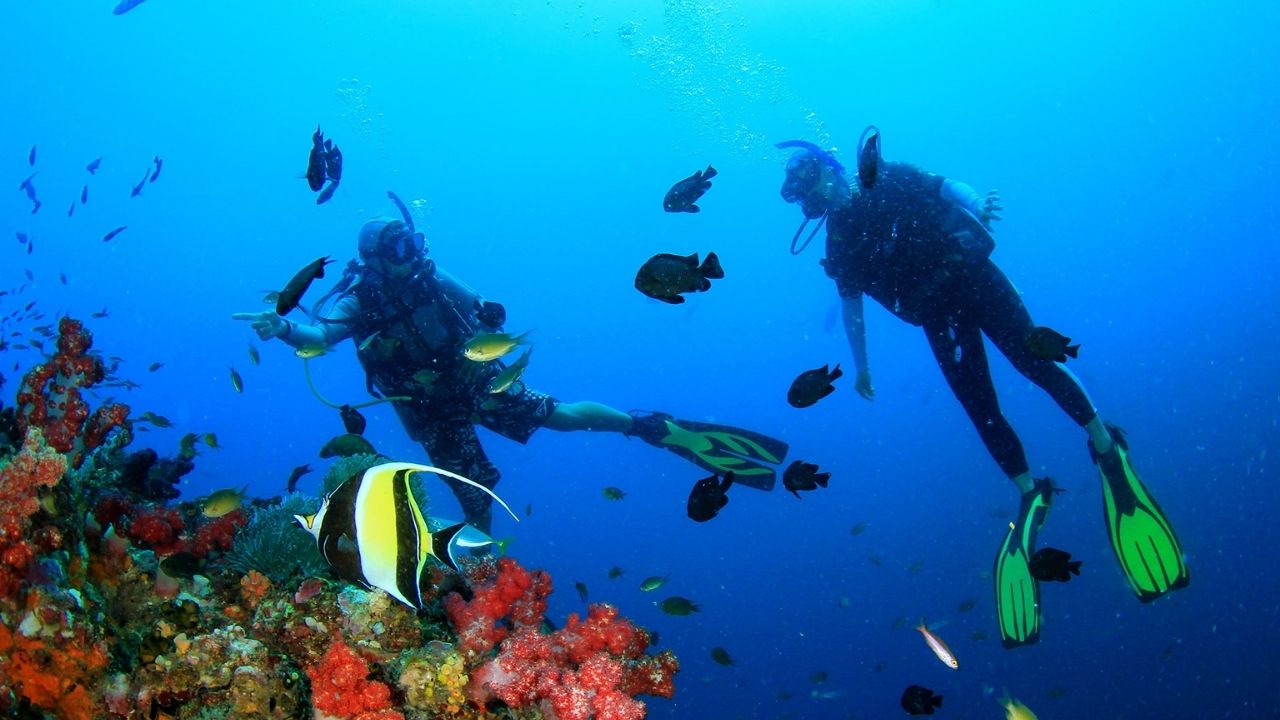
You’ll need a wetsuit, fins, scuba mask, a regulator and oxygen tank, and a buoyancy compensation device (BCD) to help you float and stay upright.
Finally, it’s time to put on your mask and regulator and take the first dive with an instructor. This will give you a taste of what it means to be a qualified scuba diver.
Requirements for a DSD:
- Ten years or older
- Comfortable in the water
- Able to float / partially swim in the water
- Physically fit to go underwater
Become a certified scuba diver through an agency.
If the discovery dive goes well and you want to dive deep in the open waters, the next step is to get certified. First, decide on the diving agency you want to certify with.
Multiple agencies have their own tests and certifications. The good thing, though, is that they’re all valid. I recommend PADI – The Professional Association of Diving Instructors. It’s the largest scuba diving organization, and its certificates are accepted pretty much anywhere in the world.
1. PADI Open Water Diver
You’ll need to get the PADI Open Water Diver, the first level of scuba diving certification. It’s pretty easy to pass if you read the study material and practice the concepts, just like other exams.
The PADI Open Water Test begins with a theoretical exam for which you’ll be given study material and various DVDs. Once you pass the theory exam, the next step is the pool practice – and yes, it’s every bit as fun as it sounds.
You’ll be swimming around the pool learning basic techniques. Once your instructor passes your basic swimming skills, it’s time to take some dives…for the exam. The final part is the most fun – you get to scuba dive in still water (often lakes instead of oceans) and practice your diving skills.
Remember that the next two weeks are the most crucial. You should regularly practice your scuba diving skills and techniques. Learn the fundamentals and best practices from your instructor regarding descending, clearing your mask, and clearing your air regulator.
After about 12-15 days, you should have a certificate that authorizes you to dive up to 60ft underwater. You can increase your maximum allowable depth by taking the Advanced test, but I strongly recommend experiencing actual scuba diving at 60ft for some time at first. You’ll be amazed at what you discover in the underwater world.

At this point, the essentials of scuba diving should be at your fingertips, including working buoyancy, nitrogen absorption, and equalizing your ear.
2. Padi Advanced Open Water Diver & Enriched Air Diver
After about 2 or 3 scuba diving trips in the open waters, the next step is to get the Advanced Open Water Diver certification, along with PADI Enriched Air (Nitrox) Diver Certification. The latter will help you get more of “no decompression time” so you can increase your number of simultaneous dives.
Buying/Renting Scuba Diving Gear
You’ll do the following during the certification courses, but I wanted to explain this separately as well. Scuba diving involves a LOT of equipment. The total goes even higher when you add the snorkeling gear. So, should you buy everything or rent everything?
The correct answer is to do a bit of both. It makes complete sense to buy a diving mask and wetsuit. But not so much for others, especially heavy equipment like the scuba tank. You can’t (or shouldn’t) travel via air with this heavy luggage.
Scuba Diving Gear to Own:
- Diving Mask
- Wet Suit
- Scuba Diving Shoes
- Torch
- Snorkel
- Fins
- Rash Vest
- Diving Knife
- Diving Compass
- Dive Computer
- Defogger
- Gear Bag
- Underwater Camera (optional, wouldn’t recommend for absolute beginners)
Scuba Diving Gear to Rent:
- Weight Belts
- Depth and Pressure Gauges
- Buoyancy Control Devices (BCD)
- Scuba tank and regulator
How to prepare for your first scuba diving adventure?
With the stage now set for your grand diving debut, let’s now prepare for your first diving adventure.
- Know the location: Understand your diving locations in and out – marine life, sea map, coral reefs, essential landmarks. This will help you gauge your diving skill level, and you can easily stroll around if you remember the map, provided you have a sea compass.
- Check your gear periodically: Maintain checklists to ensure you have all the gear. The check should be done before leaving home, after reaching your destination, and right before diving. It’s better to lay the gear kit out in front before you wear the wetsuit and fins.
- Perform a thorough safety check: It’s pertinent that you test your gear before the dive. Trust me, you don’t want any surprises when you’re dozens of feet underwater.
- Eat proper food: Avoid foods that are oily, spicy, acidic, and liquidy before scuba diving. Eat a light solid breakfast with bread, oats, and similar stuff. Boiled eggs, nuts, and sausage rolls are good choices.

Tips to Enhance Your Scuba Experience
- Don’t rush in: Make a controlled descent to maintain your air pressure and buoyancy. Most importantly, don’t forget to equalize your ears.
- Dive above others: You’ll utilize more air the deeper you go, which empties your tank more quickly. It’s a better idea to dive slightly above others when you’re in a group for two big reasons: your tank will last longer and you’ll have a better viewing angle from above.
- Look up and behind: Look behind and up periodically, so you aren’t startled by potential sea creatures or miss a miraculous moment.
- Feast your eyes but don’t touch: Avoid triggering marine life for your safety and theirs.
Frequently Asked Questions
1. Can you teach yourself to scuba dive? Is it safe?
It’s impossible to properly learn scuba diving on your own as it’s a high-risk sport. You need guidance from diving instructors. Even if you can teach yourself, it’s neither safe nor will you be allowed to dive without official certification.
2. Is it a good idea to get certified while on vacation?
It’s not a good idea to get a scuba diving certification during a vacation. You’ll have to go through many study materials and DVDs, not to mention the physical practice for the beginner’s certification. This would practically ruin your vacation.
Practicing for a day or two and getting a minor certificate for recreational scuba diving specific to the vacation spot is OK. Still, it’s wise to get licensed at home.
3. Does scuba diving hurt your ears?
It’s a common misconception that scuba diving hurts your ears unless you’re not following best practices.
Scuba diving doesn’t hurt your ears, provided you equalize them. The water pressure acting inwards against your eardrums increases as you go down, which can cause mild to severe pain if you dive headfirst. The trick is to equalize your ears by opening eustachian tubes to avoid pain.

