Before anything, let me tell you this: making a DIY climbing wall in my home was the best decision I made during the lockdown. Here’s what happened.
Because of the lockdown, I went from climbing 3-4 times a week to once a week to none at all.
And just as one does in climbing, I took a moment to analyze my situation and find a solution to the problem in front of me. The problem: I was overly dependent on my climbing gym. The solution: a DIY climbing wall in my backyard.
To be perfectly candid, I’m an average carpenter at best. So, I didn’t have woodcutting or related skills under my belt. Building a homemade climbing wall is easier than you think. You might end up needing some professional help as I did, but that’s to be expected.
Lemme tell you how I did it so you can do the same. This won’t be an exhaustive guide detailing each construction step (such as woodcutting and sheeting), but it’ll help you make the most critical decisions and, finally, the DIY climbing wall you desire.
Step 1: Evaluate the Space & Finalize the Spot
Choosing the right spot is the most important aspect of DIY-ing a home-climbing wall. First and foremost, decide the purpose of your homemade climbing wall because that’ll dictate most of your decisions. Home climbing walls are uniquely designed for different purposes such as:
- For kids to climb
- For you to practice and build finger strength
- For you to work on your overhang time and slab footwork
The list goes on, but you get my point. Next, decide where to build the wall – indoors or outdoors.
For outdoor walls, you’ll need to make a supporting wall and waterproof literally everything. Regardless of how good a job you do, the holds won’t stay as long as they would indoors. Although indoor walls come with their own subset of problems.
If you want to climb indoors, the exact location will depend on the climbing style and spatial factors. You want enough room for maneuverability and to not feel congested. The falling area should also be wholly unobstructed.
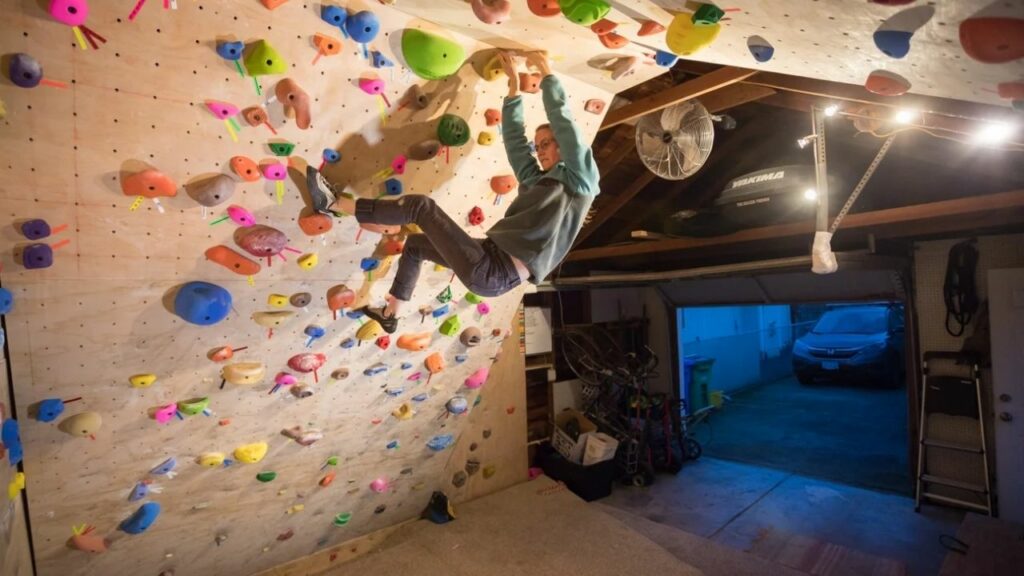
The go-to choice is usually the garage, so the primary concerns here will be your car and any storage items. You’ll have to design and angle the climbing wall so it wraps around the parked car(s). Then hang some storage shelves at the back to hold your equipment and other items.
Other great options are the basement and the garden. You can also build it in the attic, but you’ll definitely disrupt the peace of the entire house every time you fall. In any case, be mindful of ventilation, access points, and electric points when building indoors.
Covering a couple of electric outlets is fine, but avoid building on a wall with windows or doors. Ensure proper airflow and access to the room with the climbing wall.
Otherwise, you can take one of the many “creative routes” out there. My favorite is building a traversing wall in the hallway or staircase.
From here on, I’ll explain the process of making a DIY climbing wall. If you’re looking to make one for your kids, check out my other guide on “making a DIY indoor bouldering wall for children.”
Step 2: Define Wall Support & Finalize the Wall’s Height
A single mistake in this step will cost you way more than your budget for this project. Your homemade rock climbing wall needs robust, rock-solid support.
If you attach your climbing wall onto an existing wall or surface in a room, attic, or basement, it’ll reduce the work.
Trust me, building one outdoors sounds cool, but making the wall support strong enough to hold the dead weight (the wall) and live weight (the climber) is extremely challenging.
Building on an existing structure may seem simple, but it’ll lock you into one place. And if it’s your final choice, make sure to consult an engineer or builder about the strength of your wall and if it can support several hundred pounds.

Now, for the wall’s height, a vertical wall should be at least 6 to 8 feet tall, and an overhanging wall should reach about 8 to 14 feet. By 14 feet, I mean the length of the plywood – you can put the entire thing on an angle if your ceiling height is smaller than the board.
As for the width of the wall, don’t go for anything under 8 feet. Ideally, shoot for 10 feet or wider.
Pro Tip: Don’t assume. Take exact dimensions down to a tenth of a millimeter. Assuming that an edge is perfectly straight or at an approximate angle will cause you to incorrectly cut the wood and waste your money.
Step 3: Make the Final Design & Plywood Layouts
Next, visualize the design of your homemade climbing wall. Take some time to consult your climbing gym trainer or climbing buddies when visualizing your climbing wall.
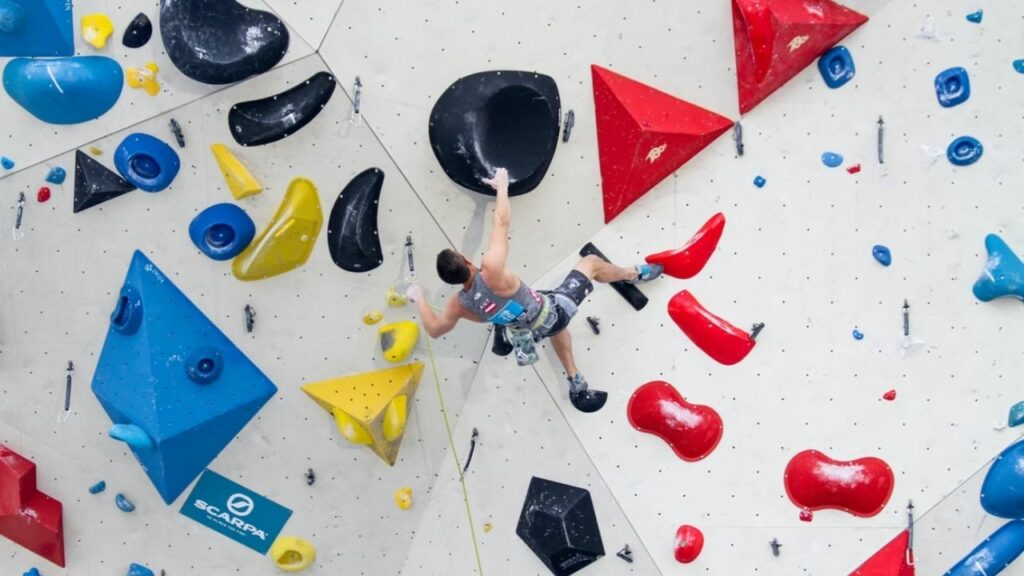
Consider the different angles and wall shapes you could fit in the given space for maximum efficiency. Do your research when choosing the angle. Certain angles and shapes tend to limit the moves available, which can get boring very quickly.
Flat, overhanging walls at angles between 20° and 45° are ideal. Next, make a 3D or scale model of your visualization using cardboard.
Then put your model on paper in multiple 2D charts and start gathering the materials you’ll need. Mark the supporting points on the wall or free wall.
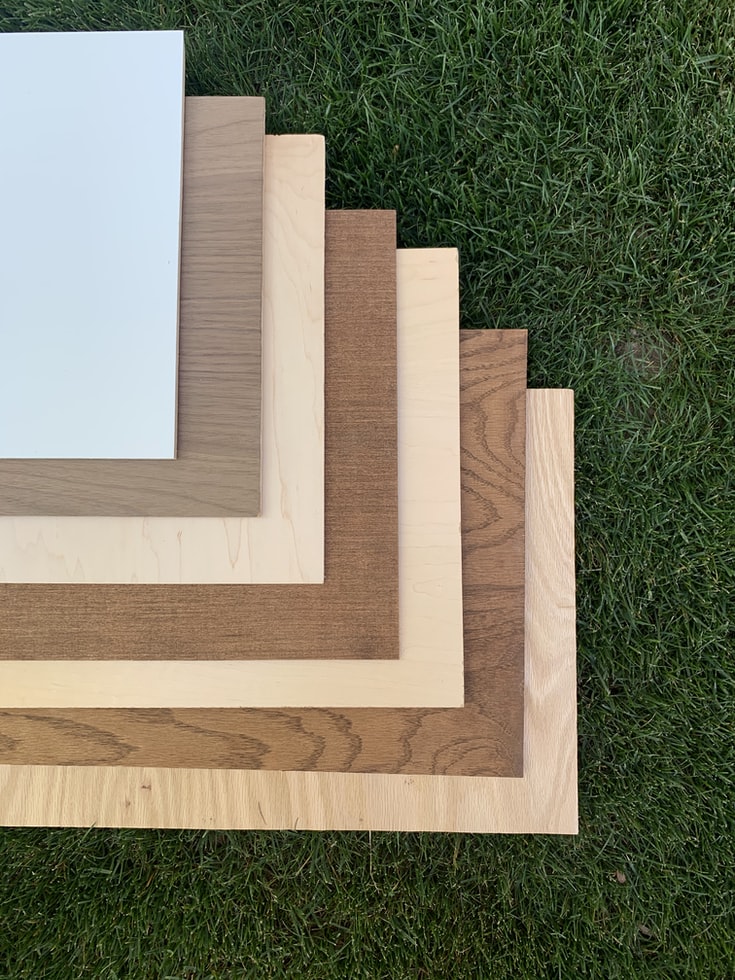
Step 4: Make a List of Materials & Buy Them
Consult a carpenter or other professional about your project and list the inventory you’ll need including plywood, t-nuts, screws, etc. Start acquiring any tools you don’t have at home such as a circular saw, pry bar, chisel, miter saw, and so on.
Step 5: Climbing Wall Construction & Fall Zone Setup
Make the outdoor support structure or indoor wall frame. Then start plywood-sheeting by placing the t-nuts that’ll be bolted onto the wall on your newly painted, predesigned plywood sheets.
Drill the holes before attaching the T-nuts for better efficiency. Attach everything to the frames, and then bolt and properly clamp them down.
Finally, add bouldering pads to your fall zone. Be sure the pads extend out of your wall zone to ensure safe landing during swings and other rapid climbing moves.
Step 6: Paint the Wall & Add Holds
Painting the wall is straightforward enough. The holds, however, are a bit more complicated.
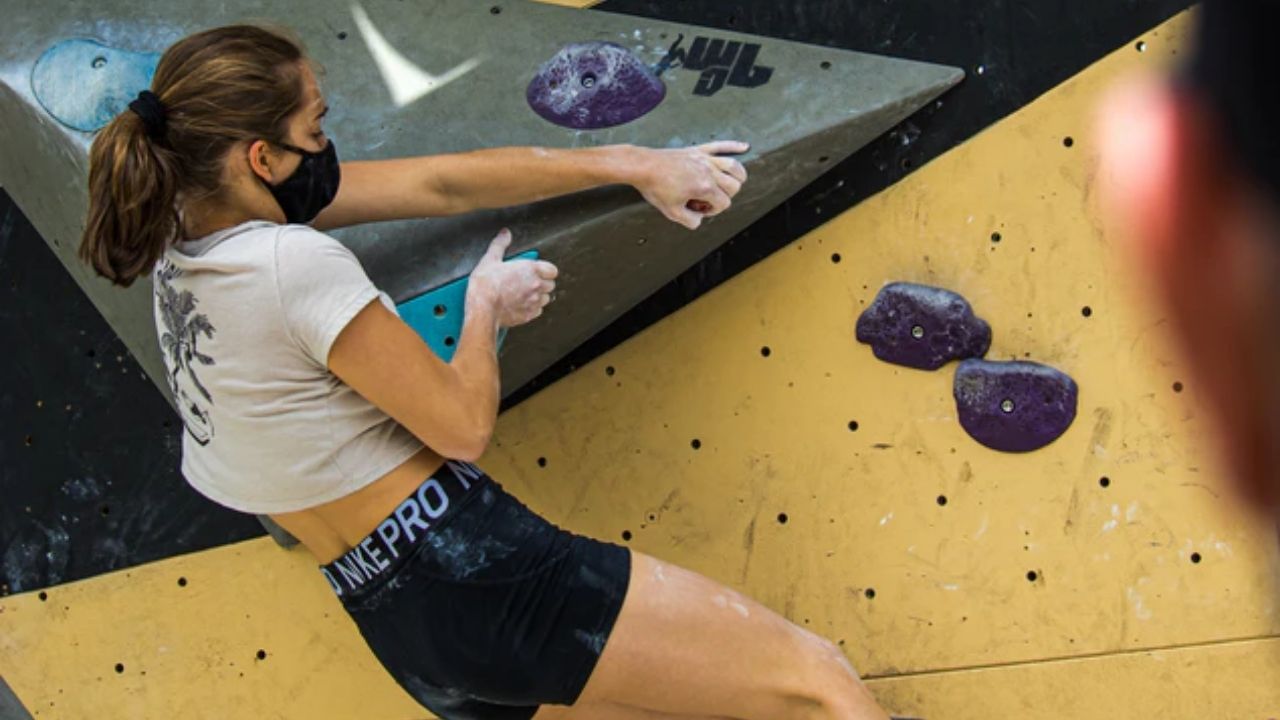
There are many types of holds, such as plastic holds, fiber holds, holds made for kids, and self-made wooden holds carved at home.
Use the appropriate installation method for the type of hold you’re using as well as the correct route-setting technique to position the routes properly.
I’ve made a dedicated guide on the correct way of choosing rock climbing holds for your DIY home wall, which discusses many skills you’ll need to construct your climbing wall.
How to properly maintain DIY climbing walls?
Homemade climbing wall maintenance mainly entails fixing broken or cracked holds. After some time, tangential forces often cause the holds, T-nuts, joints, and other screws to spin and loosen up.
Check them regularly and tighten them when needed. Replace them as soon as you see a crack or substantial wear and tear. Check the waterproofing layer every once in a while as well. Rain can easily ruin your plywood-based DIY project.
How much does it cost to build a rock climbing wall at home?
While researching, I came across an incredibly accurate statement from a veteran climber about making DIY climbing walls at home: “You’re going to be spending at least 50% more than you initially thought, but it’ll be worth every penny if you go through with it.”
Ideally, making a DIY indoor climbing wall should cost about $10 to $50 per square foot of the climbing space depending on the design and space, especially for the angular pieces. A turnkey climbing wall for a home starts at $1500 – $2000, including installation.
Most people aren’t carpenters or engineers. And getting the wall parts made and installed by a professional typically adds to the budget. However, it may be cheaper in the end.
As a first-timer, expect to make some mistakes like cutting the wrong length or angle, drilling the wrong holes, or breaking the plywood. These mistakes all incur additional costs if you’re DIY-ing it. Also, consider the cost of tools and renting a professional workshop if you don’t have one.
Point is, the basic materials and time spent aren’t the only project expenses. So, consider all factors before making the final call – a ready-to-go, bespoke wall, or a DIY one.
In either case, enjoy the process and end result!