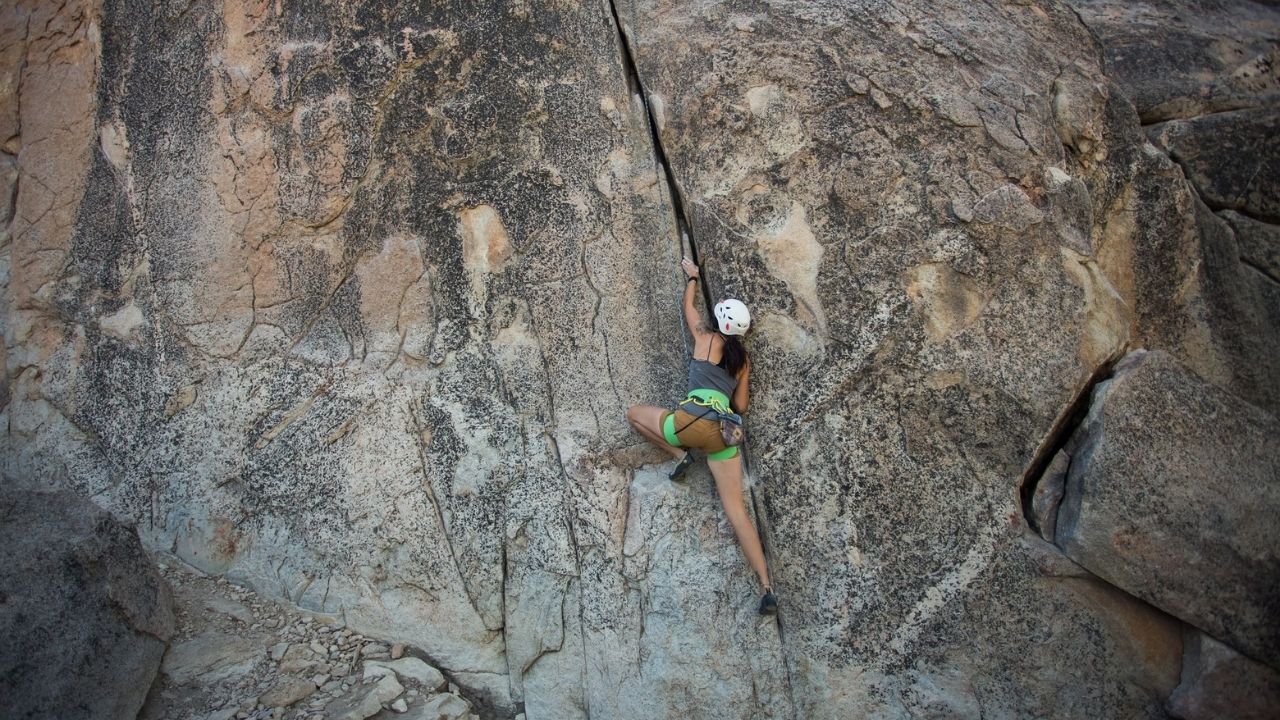
The words “cleaning” and “maintenance” don’t exactly exude “fun,” but they’re important nonetheless. For starters, it’s literally the cheapest option if you love climbing.
Proper cleaning and maintenance will not only remove that stinking smell and bacteria from your shoes, but it’ll drastically improve their lifespan. Yes, you’ll still need to “resole” the shoes every once in a while, but it’s much cheaper than buying a new pair.
When I was a newbie climber, I used to hate the stench of my climbing shoes. But after climbing for over two decades, I’ve learned the correct ways to keep my shoes clean and fresh, and I’ll tell you all about them today.
Can rock climbing shoes be washed? Is water bad for them?
Unfortunately, there’s no absolute answer since even the shoe companies constantly debate the topic. Some suggest that washing and cleaning are good for the lifespan. But others say that water can affect the glue and structural integrity of the shoes, so you should never wash them.
Officially, the washability of climbing and bouldering shoes is uncertain. Although, individual experiments have proved that climbing shoes should be washed and cleaned regularly to avoid bacterial growth and foul odor. But it shouldn’t be done aggressively.
Frankly, I’ve been washing my climbing shoes for more than 15 years, and it has never been a problem for me.
How to wash and clean rock climbing shoes by hand?
The key to proper maintenance is preventing bacterial growth. But most of us are well beyond that point so let’s discuss cleaning first.
Here’s what you’ll need to wash and clean your shoes by hand:
- A large bucket or a small tub
- A mild detergent or a dilute cleaning solution
- An old toothbrush or any other soft brush
- Warm water
- A clean, dry towel
Step 1: Dry Clean the Shoes
The first step is crucial if you don’t want to stir a muddy paste of dirt. Dust off the dirt, climbing chalk, and other stuff from the shoes before they get wet.
I sometimes use my air blower (not leaf blower) at the lowest setting to remove dust. After that, you can just use a soft brush to remove the remaining particles.
Pro Tip: Flip them upside down and pat them gently against the ground to remove debris and larger dirt particles (or tiny rocks).
Step 2: Prepare the Cleaning Solution
Heat some water to about 30 to 35 degrees Celsius and pour it into the bucket (or tub). Unlike cold water, warm water helps remove dust and other sediments in your shoes without affecting the material.
Don’t use water hotter than 36 degrees Celsius though because it’ll damage the rubber (on the sole) and the shoe’s outer material.
Now put the final ingredient – a detergent or cleaning solution (mild). It’ll help remove the tiny sweat particles that water can’t and “clean” the shoe.
If you don’t use any detergent, you’ll just end up washing the shoe without cleaning it. And if you use a strong detergent, it’ll damage the glue and structural integrity. So, go with mild ones to make your climbing shoes squeaky clean.
Step 3: Active Cleaning
Active cleaning is pertinent to loosen up the dust particles stuck in tiny crevices. Pick up a shoe, soak it into the cleaning solution and then scrub it using the soft brush (or toothbrush).
Make sure to remove the shoelace (or velcro) beforehand so that it’s easier to get your hand inside. Scrub the shoe outside to remove stuck-up strains and other sediments.
Again, don’t be too aggressive. The cleaning solution will do the work, so just scrub gently and carefully. Next, you put the shoe inside the bucket and let it soak for a couple of minutes while you scrub the other shoe.
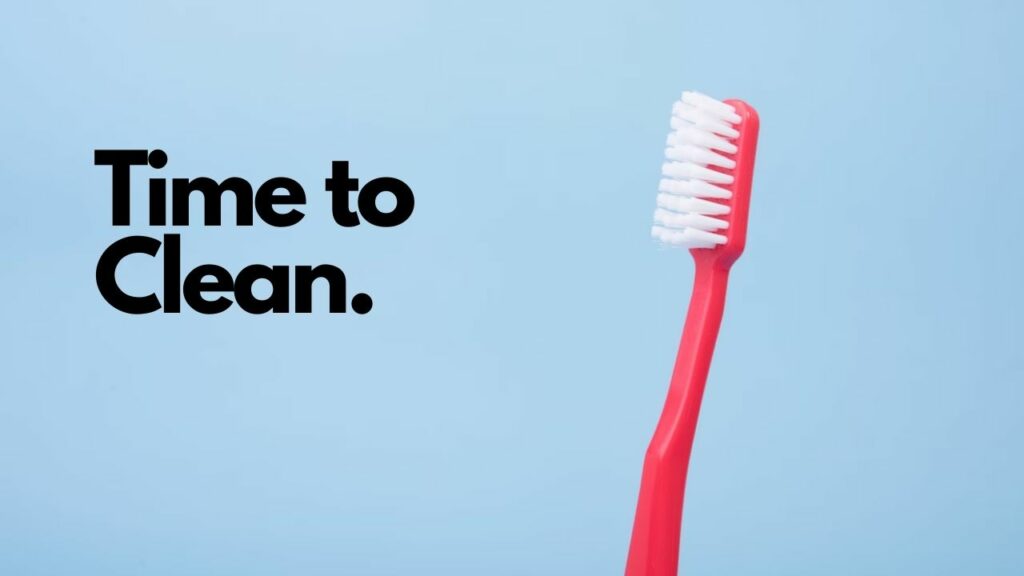
Soaking is also the first step to bacteria and odor prevention. Now, clean the toothbrush with fresh water and scrub the insides of the first shoe. This is a bit complicated because you’ll have to use a 360-degree soft brush (and sometimes your fingers) to remove dust glued on the insides.
Go back and forth between loosening the inside dust and then washing it off with a quick soak in the lukewarm water. Repeat the entire process 2-3 times with both shoes to ensure you have cleaned it entirely.
Finally, scrub off the soles of your shoes – the dirt stuck to them is usually the hardest to remove. You might even have to use 70% rubbing alcohol very carefully on the soles to remove all the gunk.
Step 4: Passive Cleaning (Optional) & Rinsing
Passive cleaning is optional because it temporarily shrinks the shoes, so some people skip this step.
After cleaning, pour the dirty water into the sink and put fresh (still lukewarm) water in the bucket. Now put some cleaning solution (even less this time) and soak your shoes inside. Move them around in all four directions a couple of times to check if there’s still brown-ish water or dirt coming out of them.
Now, I do passive cleaning, basically keeping the shoes in the warm water for 30 minutes to an hour. And finally, you just rinse all the water off the shoes and pad them slightly against the ground or shake to remove the water.
Step 5: Dry the Shoes 100%
Keeping climbing shoes wet is always a bad idea because it promotes bacterial and fungal growth. Use a clean towel to soak up, remove the water as much as possible, and then air dry.
Some people suggest putting newspapers or paper towels inside the shoes and changing them every 12 minutes to remove water from the inside.
You can put them near a heater (or radiator) but not too close because it’ll damage the material. Likewise, don’t put them in the sun because the UV rays aren’t material-friendly for most climbing shoes companies.
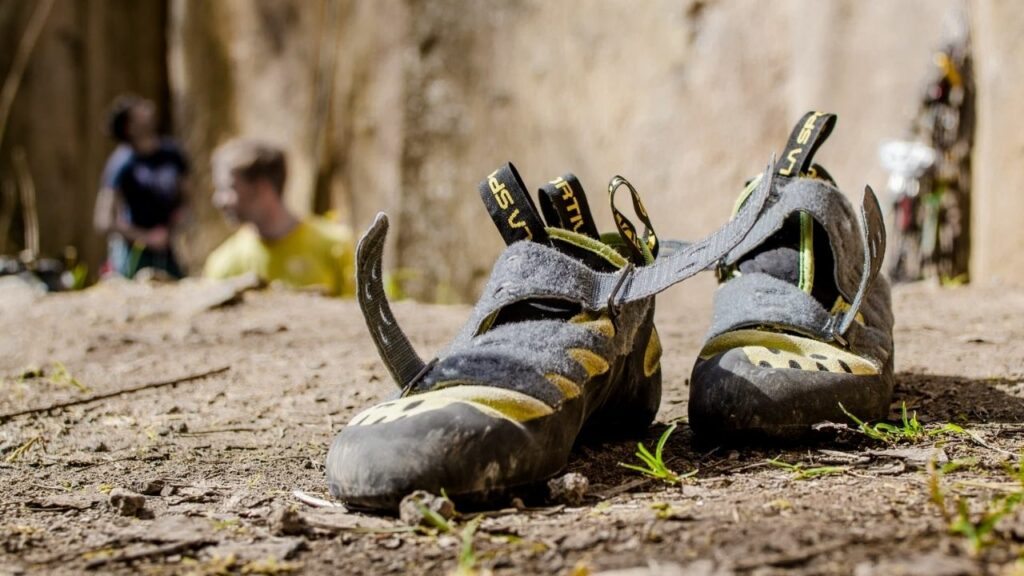
Can you wash climbing shoes in the washing machine?
You can only wash synthetic climbing and bouldering shoes in a washing machine. This should only be done at the lowest settings and optimal water temperature. Leather climbing shoes can only be hand-washed because they get damaged beyond repair in a washing machine.
How to wash climbing shoes in the washing machine?
You’ll need the same tools that you used for hand-washing. Start with the first step (dry cleaning) and then prepare the washing machine.
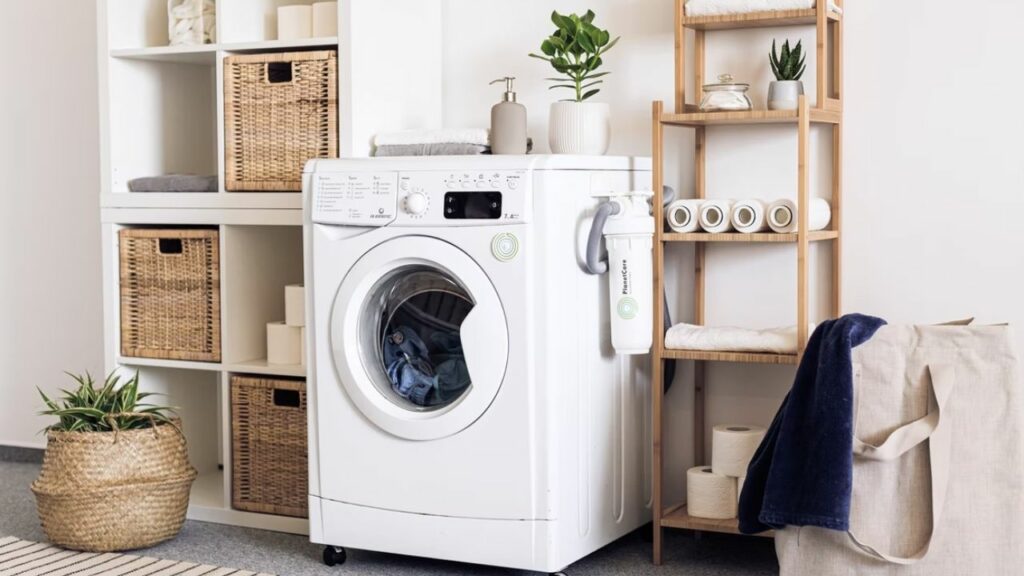
Set your washing machine at the gentle cycle to wash synthetic climbing shoes with a speed of no more than 600 to 800 rpm. The water should be lukewarm (between 30° and 36° C). Put mild detergent (not bleach) into the water, and you’re ready.
After a complete wash cycle, rinse your shoes off (as we did in step 4 earlier) and finally dry them thoroughly (step 5).
How do you disinfect/sterilize rock climbing shoes?
There will always be some bacterial growth inside your shoes, regardless of your cleaning methods. This is because of the sweat and dirt accumulated during long-climbing sessions, especially when you’re sockless.
Regular disinfection (or sterilization) of your rock climbing shoes is probably more important than anything else. Here are some good disinfection methods that I regularly use:
- Put 70% isopropyl alcohol in a spray bottle. Spray the rubbing alcohol to the insides of your shoes and leave it to dry.
- Use an anti-bacterial soap with a soft toothbrush. You can either go odorless or choose a soap with fragrance.
- Use diluted vinegar (1 part vinegar for 50 parts water) and scrub your shoes from the inside using a soft toothbrush.
I’d avoid using disinfectant sprays like Lysol. They might be suitable disinfectants, but they’re harmful to the skin.
How do I keep my shoes from stinking?
The biggest cause of foul odor from climbing shoes is bacteria, so disinfection already does half the job for you. Here are some methods that effectively remove the remaining stench (or replace it with a nice fragrance):
1. Shoe Deodorizers
You can get any shoe deodorizer that’s skin-friendly and stuff it inside your shoes. Activated charcoal, coffee bean bags, and “sneaker balls” are all amazing shoe deodorizers.
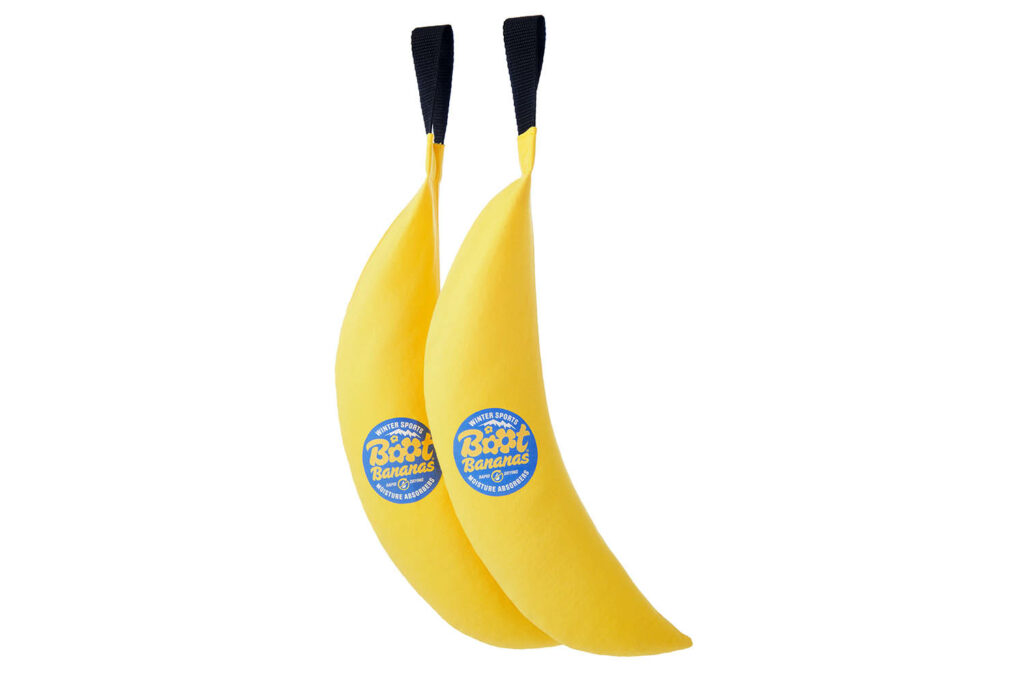
My absolute favorites are boot bananas or banana fingers – they last long, smell amazing, and are also fun to play with.
You can basically use bags of anything that you like, such as lavender or potpourri.
2. Bacterial Prevention & Proper Maintenance
The odor-producing bacteria thrive in warm, damp, and dark environments. Here are some prevention tips:
- Wash your feet thoroughly before a climbing session to remove the dead skin cells before wearing shoes.
- Remove your shoes between climbs to let them breathe.
- Wear socks if you can.
- Don’t put your sweaty shoes in the bag or the trunk of your car (or any other dark environment) right after a climbing session. Keep them in an open area or clamp them to your bag’s strap.
- Keep your shoes dry.
Honestly, you just need to find the right balance between deodorizing and disinfection. Some methods may remove the foul order, but they aren’t anti-bacterial. So, I don’t recommend using methods like sprinkling baking soda and chalk or stuffing dryer sheets. And it may sound absurd, but it has to be said: freezing and baking your climbing shoes don’t help either. Don’t be that guy!