In the previous guide to this three-part series, I discussed the general idea and requirements to make a DIY rock climbing wall at home (indoor or outdoor).
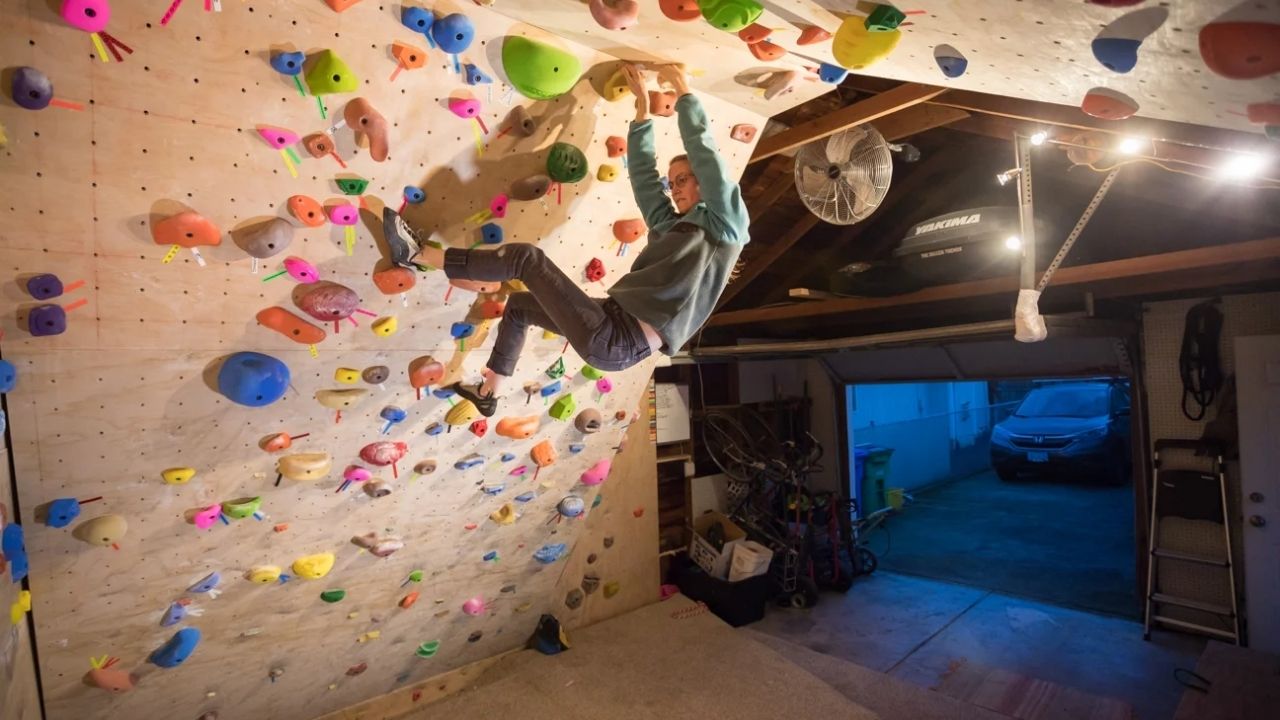
Now that you know the list of materials and the entire building process, let’s get to decorating it…with climbing holds.
I’ll tell you about the difference between hold types and the correct ways of plotting a climbing problem. Of course, you can plot holds on your wall any way you like once you understand the fundamental principles using this quick guide.
How to choose the correct hold type?
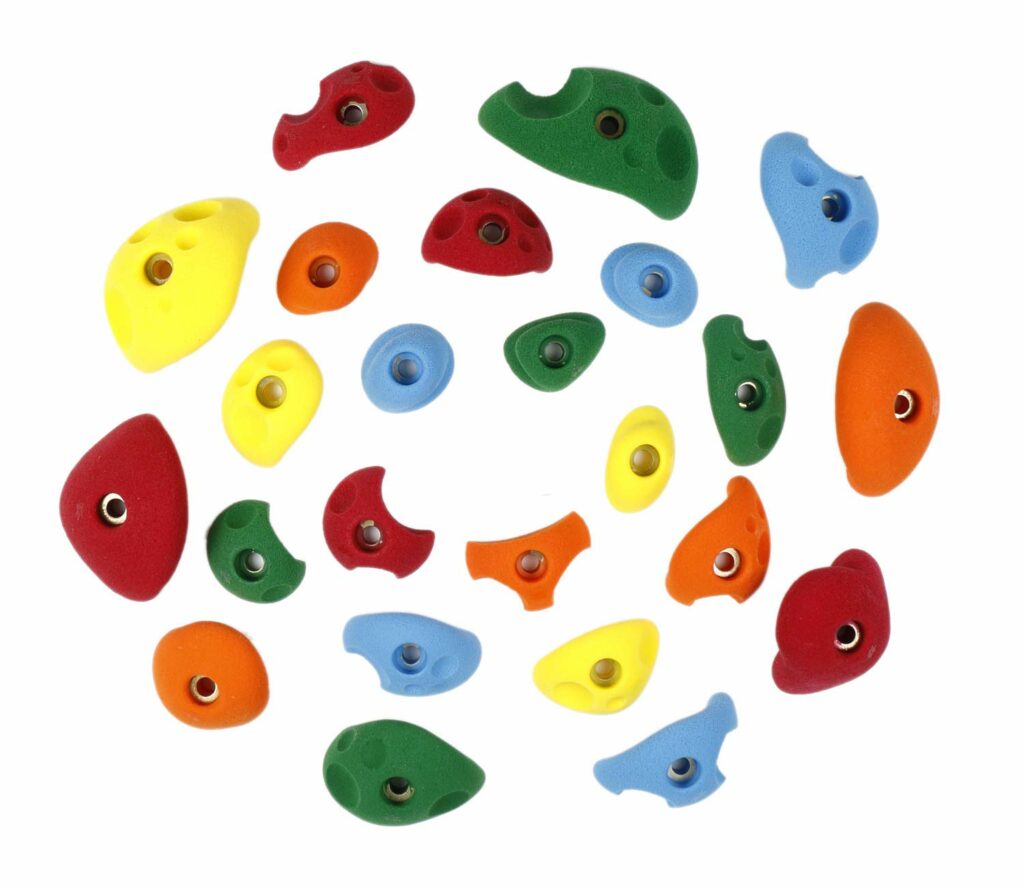
There are basically four types of climbing holds. And no, I don’t mean shape because, man, there are a whole lot of hold shapes out there.
1. Screw-on Climbing Holds
I call these the “permanent holds.” These are screwed onto the wall with 2 to 5 screws, and you’ll have to remove them all if you want to change the grip or move the hold.
The best part about screw-on holds is that they’re cheaper than the other three options and can latch onto any wall as long as the wood is atleast 3/4th of an inch. And unlike bolt-on holds, they don’t spin thanks to multiple screws.
2. Bolt-on Climbing Holds
Speaking of bolt-on holds, they’re the stark opposites of screw-on holds. Bolt-on holds use a single 3/8-16 Allen Head Socket Cap Bolt.
And obviously, a single bolt means that they can be easily moved or rotated, but they’re more prone to spinning.
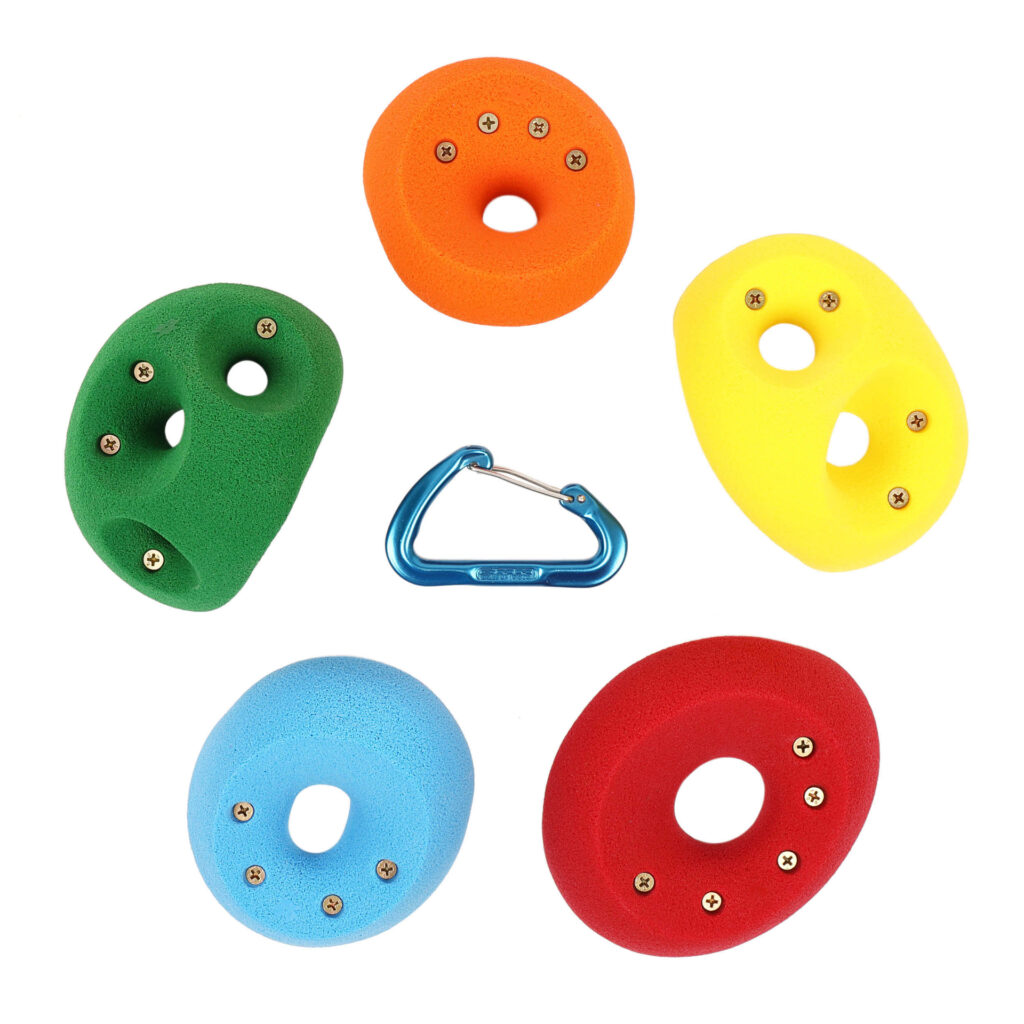
3. 2 Bolt Climbing Holds
What do you do when a single bolt is just not enough? Naturally, you add another.
2-bolt Climbing Holds share a similar design to bolt-on holds with the added benefit of two 3/-16 Allen Head Socket Cap Bolts instead of one. This keeps the bolt in place (doesn’t spin), and it’s still easier to change positions compared to the screw-on holds with their 4-5 screws.
If you’re a fan of the good ol’ bolt-on, I understand your inhibition towards double the amount of holes, but it’s a necessary price to pay.
Pro Tip: Different 2 Bolt climbing holds can have differences in the space between two bolts, so buying similar holds in bulk is often a good idea.
4. Bolt-On Climbing Holds with a Spinner Screw
If you still don’t like double holes, I have one more option for you. These bolt-on holds are attached with a single 3/8-16 Allen Head Socket Cap Bolt and a screw.
Now, it could be a wood, deck, or concrete screw. But it’ll solve your spinning problem regardless of the screw type.
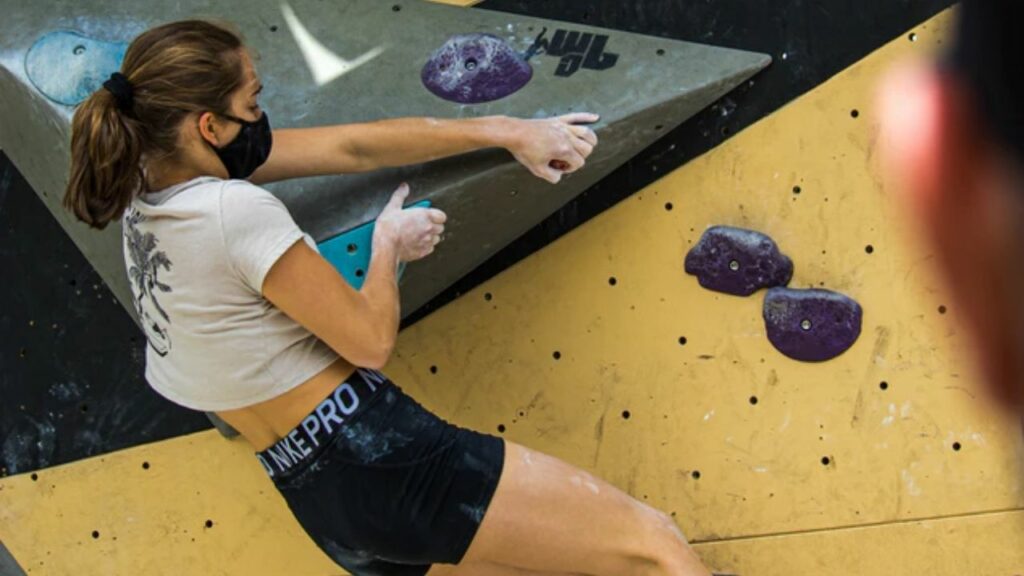
How to set up your first course on the DIY climbing wall?
Route setting is not an easy task, but it sure is a lot of fun. Yes, creativity plays a significant role, but experience is also essential. In short, don’t try to make the perfect route the first time and learn as you go.
Step 1: Define the Start
First, define the start of your climbing problem and add two holds (one for each hand) at shoulder height. Next, add another pair for each foot that you can access using the hand-holds.
Step 2: Hold Orientation & Route Setting
Add a third hold for the feet and position the holds so you can access the next hand-hold comfortably. Next, add the holds for your feet using the same idea and keep repeating this process as you go.
Pro Tip: Climb as you attach a hold, focusing on the best position for the current hold instead of creating the entire problem the first time around.

Step 3: Finish the Route
Define the finishing point of your route and build to it either vertically or horizontally, depending on the given space.
Step 4: The Alpha Test
Climb your route in its entirety and adjust the orientation of holds when the route’s flow doesn’t seem right.
Step 5: The Beta Test
Let someone else climb your route, but don’t tell them about the adjustments or your thoughts making it. Take their feedback and make final adjustments.
Your route is now ready!
Try and repeat this process multiple times till you get the hang of it. Then go online to check some climbing wall layouts that you wanna try.
How to fill the empty spaces efficiently?
Filling empty spaces on your home climbing wall is very important. Add as many t-nuts as possible. Trust me, you’ll need them later. Don’t use a lot of extra-large holds because they take up too much space.
Even if you build a great problem, you’ll plateau if you keep training on the same course. You’ll then want to build further on that problem, which also serves as a good training method. So, fill as many gaps as possible.
Now, how do you fix an existing wall?
If space is wasted on your home climbing wall, consider adding more t-nuts. If you can’t, just get some screw-on holds to fill the gaps and make multiple problems to climb on.
How to attach climbing holds?
You’ll attach these holds either on wood or on concrete. Here’s how it’s done.
1. Attaching Bolt-on Holds
If you’re putting the hold on a wooden panel:
First, drill 7/16 inch holes on the front panel of the wood for each bolt-on hold. Drill two for 2 bolt holds. Now, flip the board and hammer t-nuts as straight as possible. Finally, flip the panel and add bolt-on holds once the board is attached to the wall.
Now, if you’re putting the hold on concrete:
Drill holes into the block using a hammer drill or a 5/8″ drill bit if you have one. Make two for 2 bolt holds. Now, clean the hole by blowing it, then hammer the anchor cone end into the wall. Finally, put a bolt in the climbing hold, then attach the entire thing to the block.
2. Attaching Screw-on Holds
The best part about using the screw-on hold is that there’s not a lot of preparation like bolt-on holds.
If you’re putting the hold on a wooden panel (3/4 inch or thicker):
Put the hold on the wall anyway you like, then use a drill to create a pilot hole. Put your first screw in and tighten (rotate) it as you want. Finally, put the screw into the climbing hold and thread it into the wall, followed by the rest of the screws.
If you’re putting the hold on concrete:
Drill a hollow hole using a hammer drill or a 3/16” drill bit and smoothen it by blowing the dust out. Once the hole is properly cleaned, tighten the first screw lightly to rotate the hold. Once you have your desired position, add the rest of the screws and thread all of them tightly.
Are climbing holds expensive? How to buy them on a budget?
Climbing holds aren’t as expensive given their durability and usage even if you get the non-toxic polyurethane resin – the premium climbing holds. If you’re on a budget, buy climbing holds in bulk because it’s much cheaper regardless of the shop.
The critical thing about climbing hold pricing is that quantity doesn’t necessarily mean price. A 30-hold pack can be cheaper than a 15-hold pack of the same resin quality. It’s because a hold’s price is driven by weight or “the amount of resin it takes to make the hold.”
So, if the holds in a 30-hold pack are smaller, they’ll weigh less. Hence it’ll be cheaper. Now cheaper or smaller holds aren’t ideal because they’re too small for beginners and are meant for advanced climbers only.
In short, you’ll need to find the right balance between resin quality, hold size, and the number of holds you require for your DIY climbing wall project.
Ps…try to get the holds made of non-toxic polyurethane resin only. It’ll be worth the extra expense in the long run.
How high should the indoor and outdoor climbing walls be?
Now that you know how to plot a course and repeat the cycle let’s set some limits.

It surely can’t be as big as the one in your climbing gym. So, how high should you make your home climbing wall?
Climbing walls for bouldering are atleast 10ft high, while the top-roping starts at 20ft and goes to atleast 30ft – 40ft on average. Lead climbing walls also have atleast 25-40 feet worth of climbing. And overhang walls don’t need much height if the angle is good.
Ideally, think less about the height of the wall and more about the variety within it. You can only do so much with a 14ft high vertical wall. But a 10ft high wall with 3-4ft of overhang slope on an angle would be a climbing delight. If the height is under 10ft, just build it outside the house.
Reach out if you have any questions.